
You can spot a rushed turf job from the driveway. The lawn looks perfect on delivery day, then the autumn rains come and the surface dips where nobody ever touched the soil. Water sits in the low spots and edges start to curl. The grass itself never failed. The ground under it did.
Artificial grass installation prep is the unglamorous sequence that decides whether a lawn stays flat for a decade or gets torn up in two years. We manufacture turf and work with installers every day, and this guide follows the same six-step sequence they run: measure, clear, grade, spread, compact, and verify. Where DIY stops making sense, we say so plainly.
Why Preparation Makes or Breaks Your Turf
The base is the only part of a synthetic lawn nobody ever sees, which is exactly why it is the part most often rushed. Installers who cut corners here know the failure surfaces months later, long after the final invoice. Sinking patches, bumps, wrinkles, and lifted edges all trace back to soft or poorly packed ground. Weeds and gophers love an uncompacted base too. Think of the base like the springs under a mattress: the cover can look flawless while every step still finds the dip.
Our standing advice is blunt: this is the stage where a few saved hours can cost you the whole install. A homeowner who spends one extra afternoon on preparation gets a surface that sheds rain, resists weeds, and stays smooth under furniture and foot traffic. Skipping it is the most expensive shortcut in this trade.
Tools and Materials for Artificial Grass Installation Prep
Gather everything before the first shovel cuts, because most prep delays are hardware store runs in disguise. A rented plate compactor beats a hand tamper on any job bigger than a balcony, and we would rather see you spend on that rental than on anything else. Everything else below is common garage gear. Budget the turf material itself at $7-60 per square meter, indicative — request exact quote.
| Item | Função |
|---|---|
| Tape measure and string line | Locks the layout and finished height before digging starts. |
| Marking paint | Outlines edges, sprinkler heads, and utility marks. |
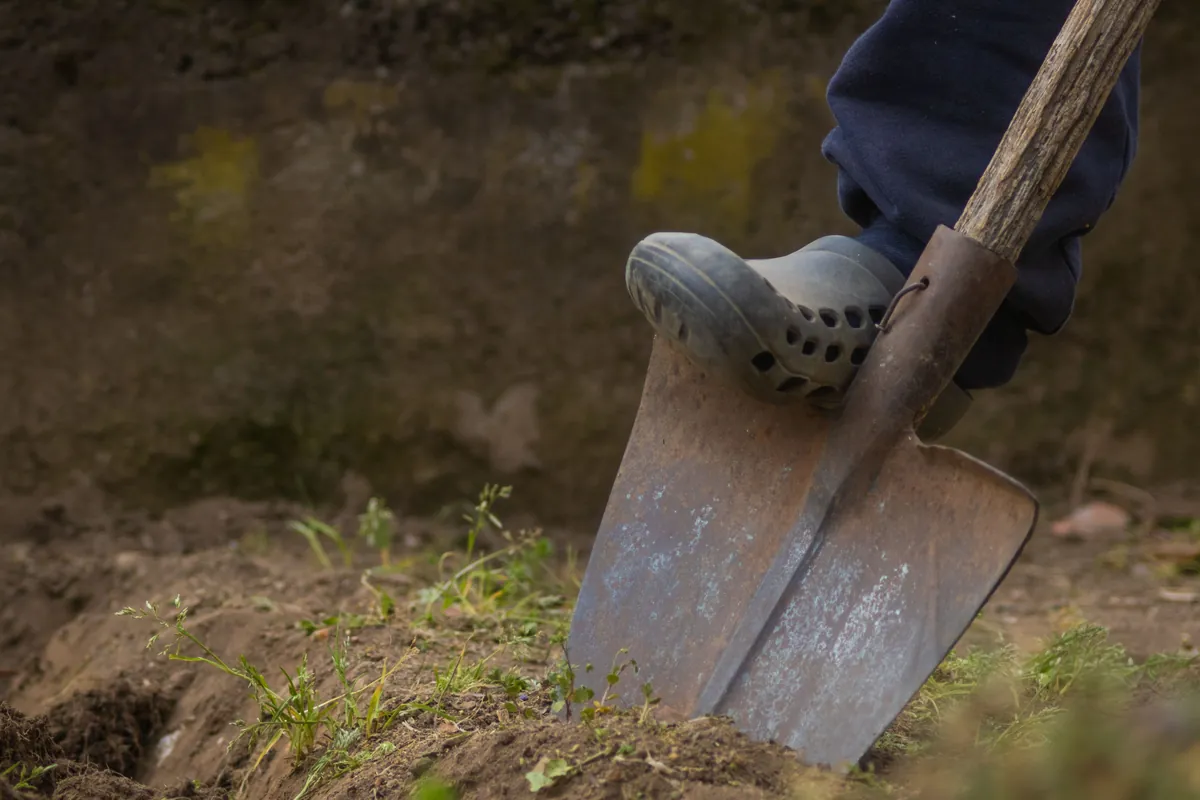
| Sod cutter or flat shovel | Strips dead turf quickly and evenly; pros cut, most DIYers shovel. |
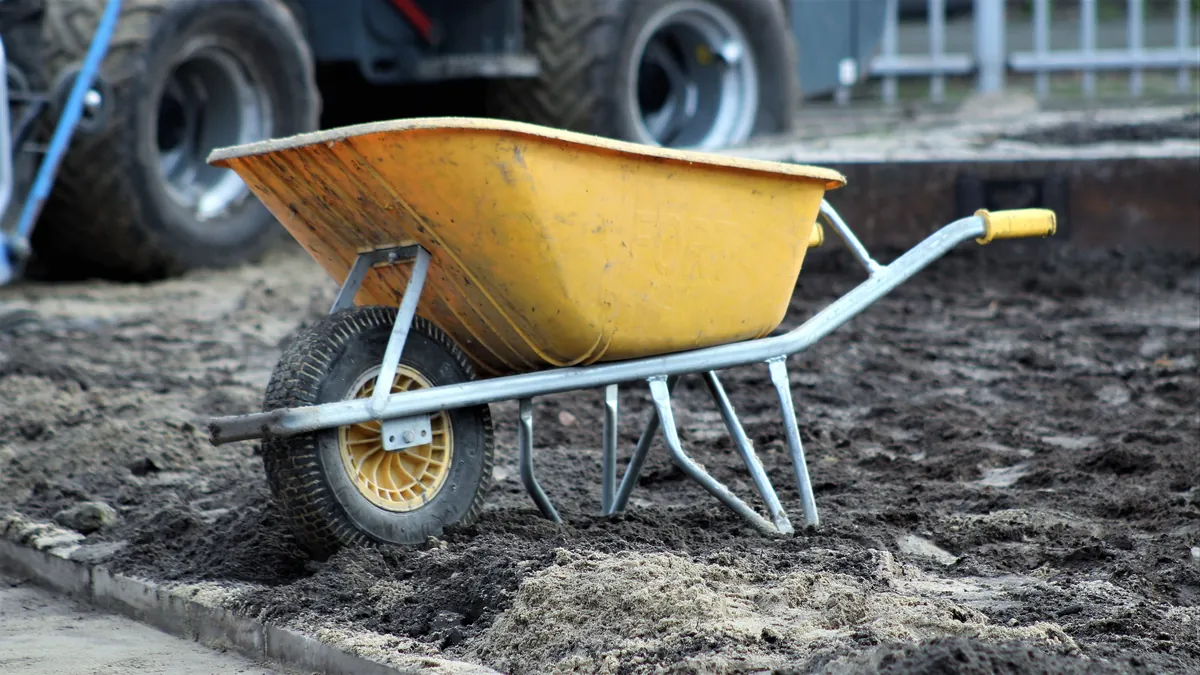
| Wheelbarrow | Moves stripped soil and debris off site in fewer trips. |
| Landscape rake | Spreads base material in even, shallow passes. |
| Spirit level | Checks flatness and the drainage fall as you work. |
| Plate compactor or hand tamper | Locks the base so it cannot settle later. |
| Class II road base or decomposed granite | The structural layer: 2-3 inches of road base, or about 2 inches of DG on smaller DIY builds. |
| Bender board and stakes | Frames clean edges; set stakes every 4-6 feet. |
Step 1: Measure and Map the Layout
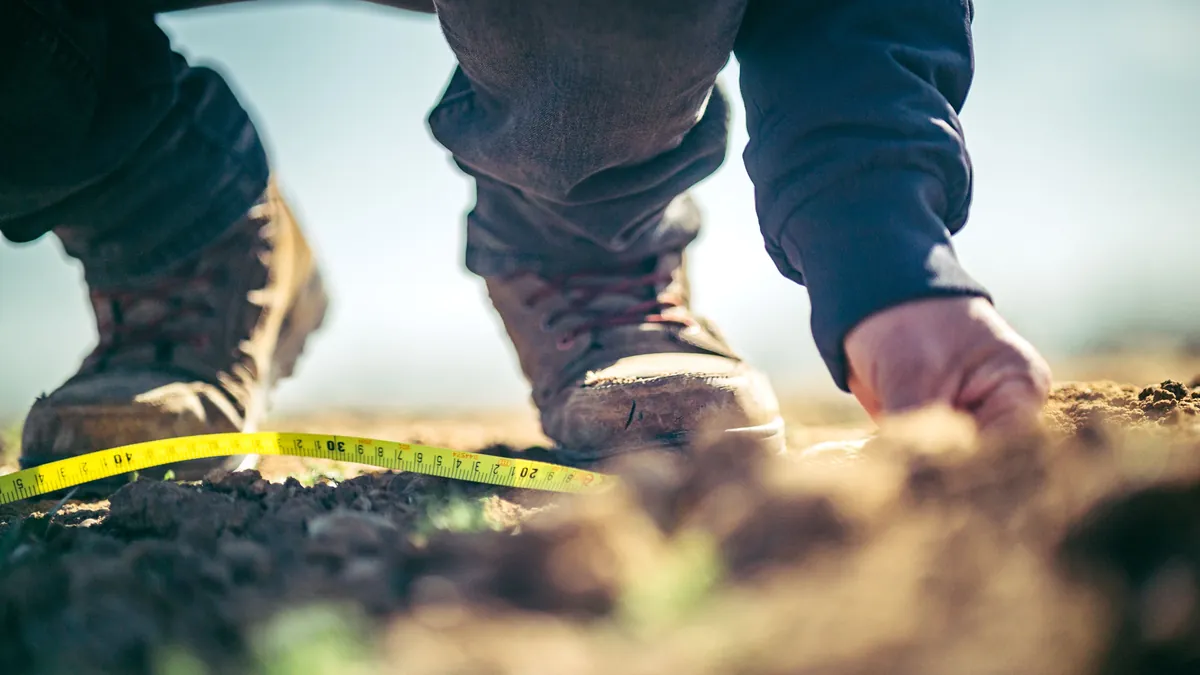
Start on paper, not with a shovel. Measure the width and length of the area at its widest points, sketch it, and mark corners, gates, and paths with string line and marking paint. Before any digging, call 811 to have buried gas, water, and power lines marked — the service is free, and advance notice is a legal requirement in most jurisdictions. Allow a few business days so the marks never hold up your schedule.
Then plan your rolls, because seam placement is a measurement decision, not an installation accident. Our rolls come 2, 4, or 5 meters wide and 25 meters long, giving 50, 100, or 125 square meters per roll. The 4 m width is our default pick when final dimensions are still uncertain, since it clears most lawn widths without a seam. Custom-width rolls eliminate seams entirely on high-visibility jobs. Add a cut allowance to your sketch for edges, posts, and odd corners, and note every sprinkler head you find.
Step 2: Clear the Site and Strip Topsoil
Kill the old lawn before you dig it. Shut off the sprinklers two weeks to a month ahead and let the grass brown off; dead turf lifts easier and costs less to dump. Professionals run a sod cutter for a clean, even strip, while most DIYers do fine with a flat shovel and an aluminum landscape rake. Strip away roughly 2 inches of grass and soil, then excavate the whole area 3-4 inches down so the roots are gone. Dig slightly deeper along the perimeter, where root systems run stronger.
Cap or reroute any sprinkler lines now, while everything is still open. Haul the stripped material straight to the trailer with a wheelbarrow instead of piling it, and the cleanup halves itself. This is also the moment to apply a pre-emergent or weed killer across the bare soil, which every crew we work with treats as non-negotiable. The same ground sequence supports any dos gramados sintéticos residenciais lawn, from front curb strips to pool surrounds.
Step 3: Set the Grade for Drainage
Water is the patient enemy of a turf base, so give it somewhere to go. Shape the exposed soil with a slight, continuous fall away from buildings, toward a drain, bed, or open lawn edge. We deliberately skip a magic percentage here, because the right fall depends on your lot. Flood the area with a hose and watch: water should creep toward the outlet, not stand still. A foreman we work with calls this the cheapest survey in landscaping.
Low spots that refuse to drain are a job for a french drain, which moves water out fast and fights odor on pet lawns. Slopes need their own plan. Up to 15 degrees, crews lay wire mesh, such as chicken wire, under the base for grip. Beyond 15 degrees, a stabilization membrane cell goes down first, followed by the base and a thin half-inch layer of DG to smooth it. Frame the edges with bender board and stakes set every 4-6 feet so the lawn line stays crisp.
Step 4: Bring In and Spread the Base
Now the structural layer goes in, and there are two honest routes. The manufacturer route is class II road base: spread it 2-3 inches thick, evenly, with the landscape rake. The DIY route is decomposed granite, which is easier to source and simpler to handle; scatter about 2 inches and sweep it level with a push broom. Either way, the full layer stack, from drainage cloth to top dressing, is its own topic in our guide to o que vai por baixo da grama artificial.
Spread in shallow passes and check depth as you go, not after. The material should sit uniform across the whole footprint, because thick spots compact differently from thin ones. On pet jobs, this is also where a quarter-inch deodorizing mineral layer can go in under the turf.
Touch the Pile Before You Commit
Prep quality decides how your base performs; turf choice decides how the surface reads. We ship free 20 x 20 cm samples, usually three or four pieces, so you can compare pile, color, and density at your own desk before the truck ever arrives.
Step 5: Compact Until the Base Locks
Compaction is where artificial grass installation prep either pays off or quietly unravels. Run a plate compactor over the whole area in multiple passes until a boot heel barely prints. For road base, that is the sign-off test our own crews use: press your boot heel into the surface, and a properly compacted base barely prints.
Move in circles rather than dragging the machine back and forth, and alternate clockwise and counterclockwise passes. Work at an angle where the base meets concrete or bender board so the corners lock too. For decomposed granite, a heavy-duty roller in several directions does the same job.
Two small habits separate a base that lasts from one that settles. First, keep the material slightly damp as you compact — moist particles knit together, while dry dust and muddy slop both resist packing. Second, on decomposed granite, brush on a stabilizer after the final pass and let the surface dry fully before anyone walks on it. Then recheck flatness with the spirit level and your string lines. Hollow sounds or soft spots mean more passes, not more hope.
Step 6: Final Checks Before Turf Day
Caminhe sobre a base finalizada antes de dar por concluída. Ela deve estar firme sob os pés, sem marcas de calcanhar, sem bolsões de rocha visíveis e sem bordas macias no perímetro. Regue a área uma vez mais e confirme que a água ainda flui em direção à sua saída. Remede a área final também, porque a escavação sempre recorta um pouco o plano; a maioria dos compradores termina com um rolo de 4 m exatamente por esse motivo. Varrá a superfície de pedras soltas e a base estará pronta para a entrega.
O que vem a seguir — rolagem, emenda, material de preenchimento e escovagem — é um dia de trabalho à parte, e explicamos o que esperar no dia da instalação em um guia separado. A versão resumida: uma base plana, seca e compactada é o melhor presente que você pode entregar à equipe. Tudo após a preparação fica mais rápido por causa disso.
Perguntas Frequentes
Até que profundidade devo cavar na preparação para instalação de grama sintética?
Remova a grama antiga primeiro, depois escave 3–4 polegadas em toda a área. Essa profundidade elimina as raízes e deixa espaço para uma base de 2–3 polegadas, para que a grama final fique nivelada com as calçadas e bordas.
Preciso de uma inclinação sob a grama sintética?
Sim. A grama drena, mas o solo sob ela também deve. Nivelamos todos os locais com uma leve inclinação contínua, afastando-se dos edifícios em direção a uma drenagem, canteiro ou borda aberta, para que a água nunca fique retida na base.
Posso pular a compactação para economizar tempo?
Não. Rochas soltas se assentam com o peso dos pés e a chuva, e é assim que depressões, vincos e emendas levantadas aparecem meses depois. Faça várias passadas com um compactador de placa até que a superfície esteja firme e o calcanhar da bota mal deixe marca.
Vale a pena instalar tecido de barreira anti-ervas sob a base?
Normalmente não. Sob a base, o tecido tende a reter mais detritos do que a impedir ervas, e nunca é recomendado para gramados de pets. Um tratamento preventivo contra ervas aplicado antes da colocação da base é que faz o trabalho de verdade.
Quais ferramentas preciso para a etapa de preparação?
Fita métrica, linha com estacas, tinta de marcação, pá ou cortador de grama, valete, ancinho de paisagismo, nível de bolha e um compactador de placa ou sapateira manual. A maioria das equipes aluga o compactador por dia; o resto é equipamento comum de garagem.
 Portuguese
  English
  Arabic
  French
  German
  Russian
  Spanish