
Un mur en gazon échoue presque jamais là où on l'attend. Le centre tient et la couleur reste fidèle. Puis un coin inférieur commence à s'éloigner du mur, ou une jonction s'ouvre juste assez pour capturer l'ombre de l'après-midi. Nous avons été appelés sur des murs de décor dans des cafés et des stores de balcons qui avaient échoué exactement de cette manière, et dans presque tous les cas, le gazon lui-même était en bon état. L'installation avait traité un travail vertical comme un travail au sol.
Une installation de mur en gazon synthétique récompense l'ordre plutôt que la force. Voici la séquence suivie par nos équipes, les outils nécessaires à chaque étape et les pannes qui nous ramènent en intervention. Nous serons aussi honnêtes sur les limites. Si un mur est un enduit qui s'effrite, un bardage qui se détache ou une surface sur laquelle vous n'avez pas le droit de percer, nous vous dirons qu'aucune méthode de fixation ne pourra sauver le projet.
Ce qui change quand le gazon passe sur un mur
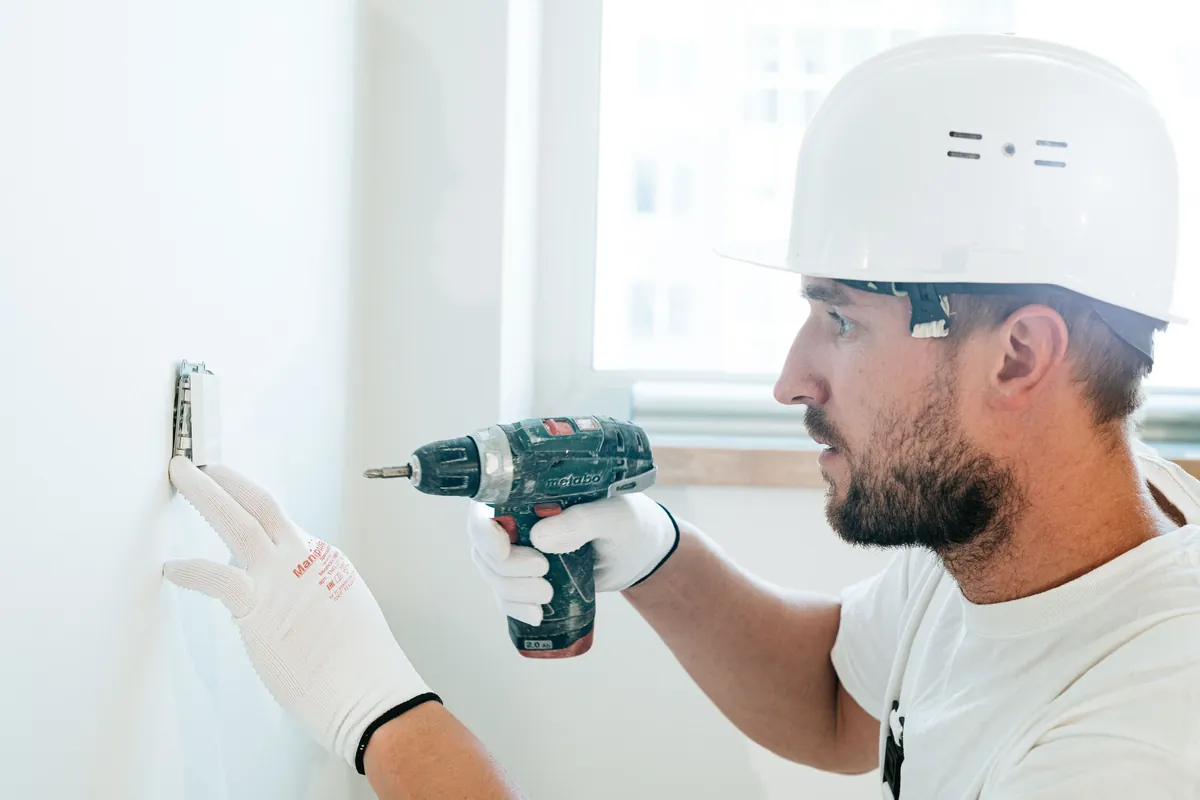
Au sol, la gravité travaille pour vous. Elle presse la pelouse dans la base, maintient les joints serrés et pousse l'eau vers le bas et vers l'extérieur, c'est pourquoi le drainage et la compaction dominent la préparation du sol. Sur un mur, la gravité change de côté. Elle tire le long de la surface au lieu de la presser, donc les fixations travaillent en cisaillement et le bord supérieur résiste au décollement. Pensez-y comme accrocher un miroir lourd plutôt que poser un sol.
Les conséquences pratiques sont plus grandes qu'elles n'en ont l'air. Les couches de base, les plaques vibrantes et les pentes de drainage disparaissent de la liste des travaux. Ce qui les remplace est une courte liste de questions sur le mur lui-même : de quoi il est fait, s'il est sain, et comment il gère l'humidité. Trouver ces réponses est le véritable travail d'une installation de mur en gazon synthétique, et cela se fait avant que quiconque n'ouvre une boîte de colle.
Les charges diffèrent aussi. Un mur extérieur subit des rafales qui tirent la face vers l'extérieur puis la relâchent, encore et encore, toute la saison. En intérieur, la charge ce sont les gens : un chariot dans un couloir d'hôtel, le dos d'une chaise dans un café achalandé. Le gazon en sol répartit ces chocs à travers un lit de couche de remplissage, tandis qu'un mur les transmet directement aux fixations. C'est pourquoi nos spécifications murales misent sur la qualité des fixations plutôt que sur le poids de la fibre.
| Aspect | Installation au sol | Installation murale |
|---|---|---|
| Gravité | Presse la pelouse dans la base et maintient les joints serrés | Tire le long de la face ; les fixations travaillent en cisaillement, le bord supérieur en arrachement |
| Fondation | Excavation, base compactée et couche de nivellement | Aucune ; le mur lui-même est la structure |
| Eau | Le nivellement et le drainage déterminent le résultat à long terme | Pas d'étape de drainage ; gérer l'humidité derrière la face au lieu de cela |
| Seams | Retenue par le poids, la couche de remplissage et le ballast | Doit porter sur des lattes ou des joints |
| Fixings | Edge pins plus ballast from the infill | Screws and anchors carry the entire load, permanently |
| Working load | Foot traffic, furniture, cleaning machines, and maintenance | Self-weight, plus wind exposure outdoors |
| Where mistakes hide | Under the surface, showing months later | In plain sight, usually within days |
| Typical failure | Settling, dips, and pooling water after rain | Sagging corners and seam shadow lines |
This shift also sets the honest boundary of the guide. If your project is really a roof terrace or a lawn, the ground rules apply and this wall sequence is the wrong map. Everything below assumes a vertical surface on a building, a garden wall, a fence line, or a framed stud partition.
Système de lattes ou fixation directe : choisir sa méthode
Every artificial grass wall installation hangs on one early decision. Industry practice uses a batten system or direct fixing with screws and adhesive, and the right answer depends on the wall, not on the catalog.
A batten system means timber or metal battens leveled off the wall first, with the turf or panels fixed to those battens. It bridges uneven masonry, gives screws something solid to bite, and leaves an air gap behind the face so the wall can breathe. The trade-offs are more hardware, more leveling time, and a slightly thicker build-up.
Direct fixing skips the frame and takes the turf straight onto the surface with adhesive, or screws on flat, lined walls. Contact cement is the classic choice here. You coat both surfaces, wait until the layer turns tacky, then press the two together, and from that moment repositioning is off the table. Porous concrete often wants a primer first, so the bond has something sound to grab.
Our default choice for outdoor masonry is a batten grid, because weather and rough texture punish adhesive-only work over time. On flat, sealed, indoor walls, direct adhesive gives a slimmer finish with fewer holes. Materials for the turf itself commonly list between $7-60 per square meter, indicative until we quote the job, and battens add timber and fasteners on top. That is why we price the method before the meterage.
A third variant is worth naming, because site crews lean on it constantly: the planter finish. A low planter box or kick plate fixed along the bottom caps the run and hides the bottom fixing line. It also gives the turf a solid landing instead of a bare cut edge. On indoor walls that meet the floor, we find a planter base reads more deliberate than trim alone, and it shields the lowest fixings from kicks and mop water.
Vérifier le mur avant de fixer quoi que ce soit
Wall type decides everything that follows in an artificial grass wall installation. Solid brick and poured concrete take anchors happily and suit either method. Drywall and plasterboard cannot carry a grass wall on their face; fixings must hit studs, or you add blocking, or line the bay with plywood. Timber fences work once rotten boards are replaced, and tiled surfaces want careful drilling plus anchors rather than adhesive alone.
A slow lap of the wall saves callbacks. Run a knuckle along drywall and listen for hollow spots, look for tide marks on exterior brick, and check for hidden pipes before a drill bit finds them for you. Twenty minutes of checking beats a week of redoing.
Rough or uneven surfaces get a plywood backer. Exterior-grade sheet at 1/4 to 1/2 inch turns bumpy brick into a flat, even canvas, and on awkward concrete the backer goes up first with concrete anchors. Whatever the substrate, the face must be completely clean and dry, because dust, grease, or peeling paint will compromise an adhesive bond.
Moisture deserves the same suspicion. A mesh or plastic backing pressed flat against a damp wall traps humidity behind the face. That is why we either leave an air gap with battens or specify a breathable build-up outdoors. Keep the finished wall clear of grill flares, fire pits, and other hot surfaces too, because heat flattens a pile long before its time.
One more check happens at your desk, not on the wall. Order a free 20cm x 20cm sample of the exact pile before you commit, so you can judge color and density against your own light. It ships by DHL or FedEx in 4-6 days, or 7-9 days to remote areas, and custom samples take an extra 10-15 days to produce.
Outils et matériaux pour une installation murale
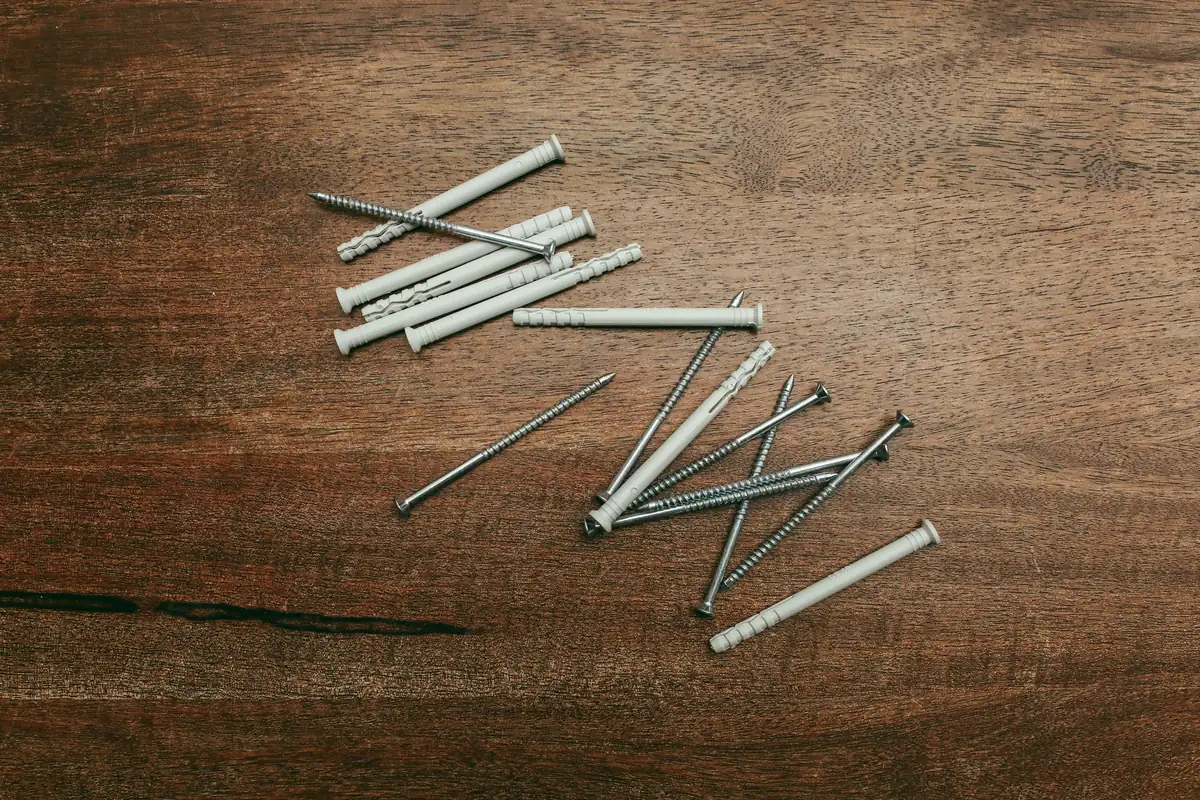
The kit is short, and each tool earns its place. A tape measure, spirit level, and chalk line turn the wall into a grid you can actually hit. A drill with masonry and wood bits drives screws and nylon anchors sized to the substrate, from long anchors on brick to shorter screws on studs. A utility knife with spare blades and a straightedge handles every cut, always from the backing side so the pile stays tidy.
Bonding and finishing tools complete the set. An adhesive roller or notched spreader lays an even bed of contact cement, and a J-roller presses the backing home so no hollow spots survive. Gloves and eye protection are standard, and a respirator joins them whenever solvent-based adhesive is working indoors. Add 10-15% extra turf over your measurements for offcuts, alignment, and the pieces you will recut twice.
Étape par étape : installer le mur en gazon
With the wall checked and the method chosen, the artificial grass wall installation becomes a straight sequence. Work through the six stages in order, because each one assumes the last is done.
Measure and Map the Seams
Measure the wall twice and sketch it once, marking outlets, lights, and anything that will need a trim. Plan where the seams will fall before you cut anything, because a seam that lands mid-span has nothing behind it. Lay every piece out on the floor first and check that the pile leans the same way on all of them. One reversed sheet reads like a patch from across the room.
Set the Battens or Mark the Direct-Fix Lines
For a batten system, fix the battens to the wall, shim them until a level reads true, and put one behind every planned seam. For direct fixing, snap chalk lines at each sheet width so the first edge of every piece lands exactly where the last one ended. Either way, you are drawing the map that the next stages will follow.
Hang and Align the First Section
Set the first section on your line and check it with the level before anything grips. Contact cement gives you one chance: once tacky surfaces touch, the bond is permanent. Press from the center outward with a J-roller so no air stays trapped behind the backing.
Join Sections So the Seams Disappear
Butt each new section tight against the last, matching pile direction every time, and keep the joint on its batten line. A seam pressed over solid framing disappears; a seam floating over a gap casts its own shadow by late afternoon. Roll every completed joint lengthwise so the edges seat at the same height.
Set the Fixing Pattern
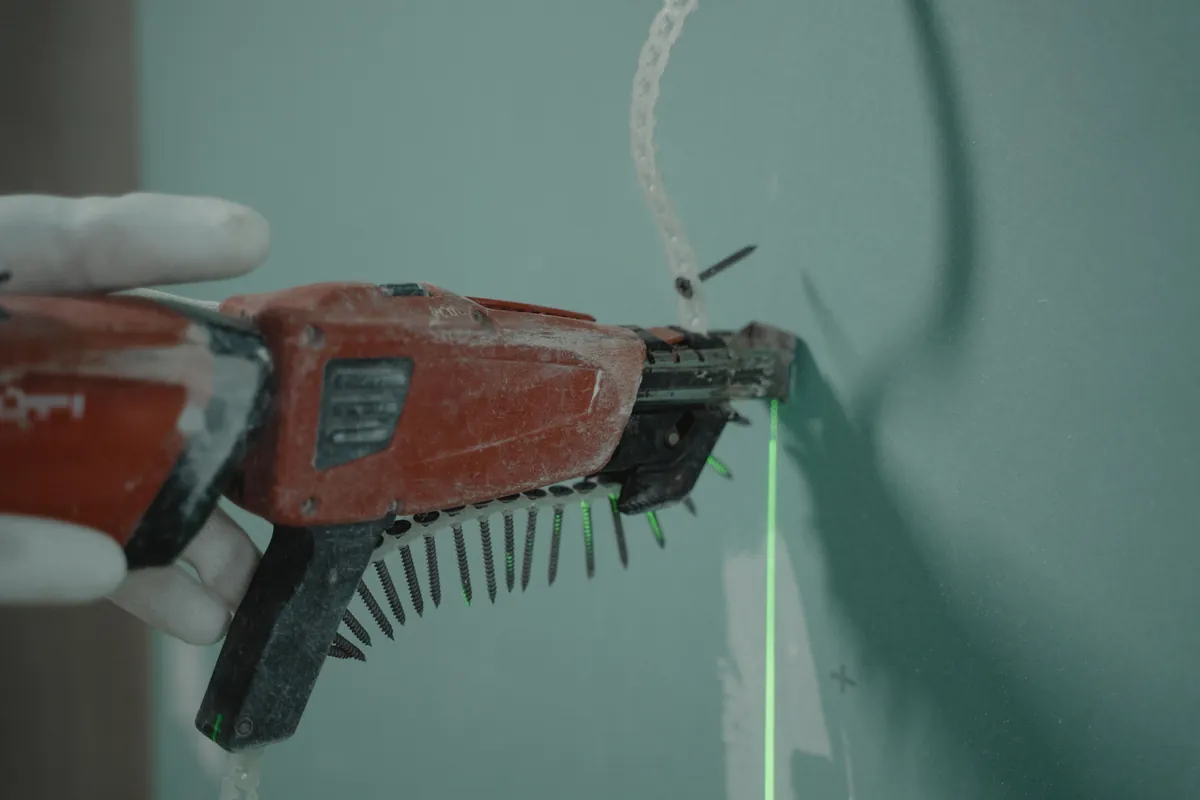
Work corners and edges first, then fill the field. Our rule is simple: space the fixings so that no edge or corner can be pulled away from the wall by hand, and put one at every seam crossing. When a panel maker supplies a fixing map, follow it, because the backing was engineered around those points. Screws should seat snug, never crushed, or the backing dimples and shows. Then pull-test a few: a firm tug should move the turf, never the fixing.
Trim and Finish the Top Edge
The top edge is the part every eye lands on, so close it deliberately. Trim excess backing from the rear with a fresh blade, then cap the edge with a slim trim rail, an angle bead, or the panel’s own returned edge. Brush the pile upward along the whole wall at the end, step back, and check the joints one last time in the light where the wall will be seen.
Get the Fixing Details for Your Wall
Tell us what the wall is made of, where it sits, and whether you are working with rolls or panels. We will come back with a fixing approach, a layout suggestion, and a material list that suits an artificial grass wall installation on your specific surface.
Rouleaux complets ou panneaux à emboîtement
Material format shapes an artificial grass wall installation as much as the wall does. We supply rolls 2m, 4m, and 5m wide by 25m long, covering 50, 100, or 125 square meters per roll. That width means a large feature wall needs very few vertical seams. Two people and straight battens make a roll install straightforward; a solo installer will fight the bulk. Wide rolls are awkward at ladder height, so stage each length flat on the floor, cut it to size, and lift it into place with a second pair of hands.
Interlocking panels are the opposite trade. Each square tile is light enough for one person, alignment errors stay local, and a feature wall can grow over a weekend. The cost is arithmetic: more pieces means more joints, and every joint is a place to keep tidy. Our les produits de gazon synthétique range covers both formats, plus custom sizes made without joins for walls where a seam would ruin the design.
Backing and pile are the last lever. Rolls and panels come on PP+Net or PU backings, and pile height, density, and color can be customised when a standard spec fights your wall. If you are unsure which format suits the space, send us the dimensions before you order.
Pannes courantes en installation murale et leurs solutions
Most artificial grass wall installation callouts trace back to a handful of causes. A sagging bottom corner means the edge was never fastened, so the fix is more fixings at the perimeter, not more glue. A shadow line at a seam means reversed pile or a joint floating off its batten, and both are solved by re-reading the layout, not by forcing sheets together.
Adhesive-only work on rough masonry starves the bond, which is why a 1/4 to 1/2 inch plywood backer earns its place on those walls. Damp trapped behind a mesh backing calls for an air gap or a breathable build-up. Scorch marks near a grill simply mean the wall was mounted too close to heat, and no fix reverses melted pile. Every one of these is cheaper to prevent at layout stage than to repair from a ladder.
None of this is a reason to hesitate; it is a reason to sequence. Choose the product with the wall in mind rather than the shelf, and if product choice itself feels murky, our separate guide to grass wall buying mistakes covers that side. And when you are still deciding where a wall earns its place, our grass wall design ideas are the better starting point.
Questions fréquentes
Can I install a grass wall without drilling?
Yes, on flat, smooth, indoor surfaces. Contact cement is coated on both sides, left until tacky, then pressed home with no repositioning. Textured, damp, or outdoor walls need mechanical fixings.
How do I stop grass wall panels from sagging?
Fasten corners and edges first, then fill the field, and support every seam on a batten. Gravity pulls along the wall, so the top edge fixings take the peel load.
Can artificial grass go on a drywall wall?
An artificial grass wall installation can sit on drywall, but never on the face alone. Fix into studs, add timber blocking, or line the bay with a 1/4 to 1/2 inch plywood backer.
Which pile height works best on a wall?
Shorter piles are our default choice on walls. They look tailored, weigh less, and are far easier to handle and cut than long, heavy grass made for lawns.
How do I finish the top edge of a grass wall?
Trim the backing square from the rear, then cap the edge with a slim trim rail, an angle bead, or the panel’s returned edge, fixed back into a batten.
Does a grass wall need drainage like a lawn?
No. Wall installs skip the base and drainage stages entirely, because water never pools on a vertical face. Just keep an air gap or breathable build-up so moisture cannot sit behind the backing.
 French
  English
  Arabic
  German
  Portuguese
  Russian
  Spanish