
Here is the rule that separates lawns that stay flat from lawns that wrinkle by summer: the base wins, every time. A roll of turf cannot hide soft soil, a flat grade or a rushed seam. When people ask how to lay artificial turf well, the honest answer starts under the grass, in the ground you prepare before it arrives.
We make the carpet itself, so we will not pretend the roll is the hero. Our own line tufts, coats and inspects every roll before it ships, and the twelve steps below are the ones installers repeat on site. Each step exists because skipping it has a visible cost somewhere down the line. Where a task is better left to a crew, we say so plainly.
Before You Start: What Decides a Flat Lawn
Here is the honest rule installers repeat: the dirt is the job, and the turf is the easy part. A perfect roll cannot hide a base that settles, a slope that pools water, or a seam glued on a cold joint. So before you cut a blade, decide three things about the order.
First, roll width drives how many seams you accept. Rolls come off our line at 2m, 4m or 5m width by 25m long, which is 50, 100 or 125 square meters of coverage. A narrow yard fits a 2m roll with few cuts. A wide open lawn rewards a 5m roll with almost no visible seams. That single choice sets your labour and your finished look more than any other.
Second, budget extra material. Most guides add five to ten percent for cuts and shaping, and we agree when the shape has curves, trees or posts. Third, plan seam placement before you order, not after the rolls are on the ground. Every seam you push to a low-traffic line is one you will not defend for a decade. If you want to lay artificial turf and keep it looking new for years, this planning is where the work really happens.
Step 1: Clear the Old Surface
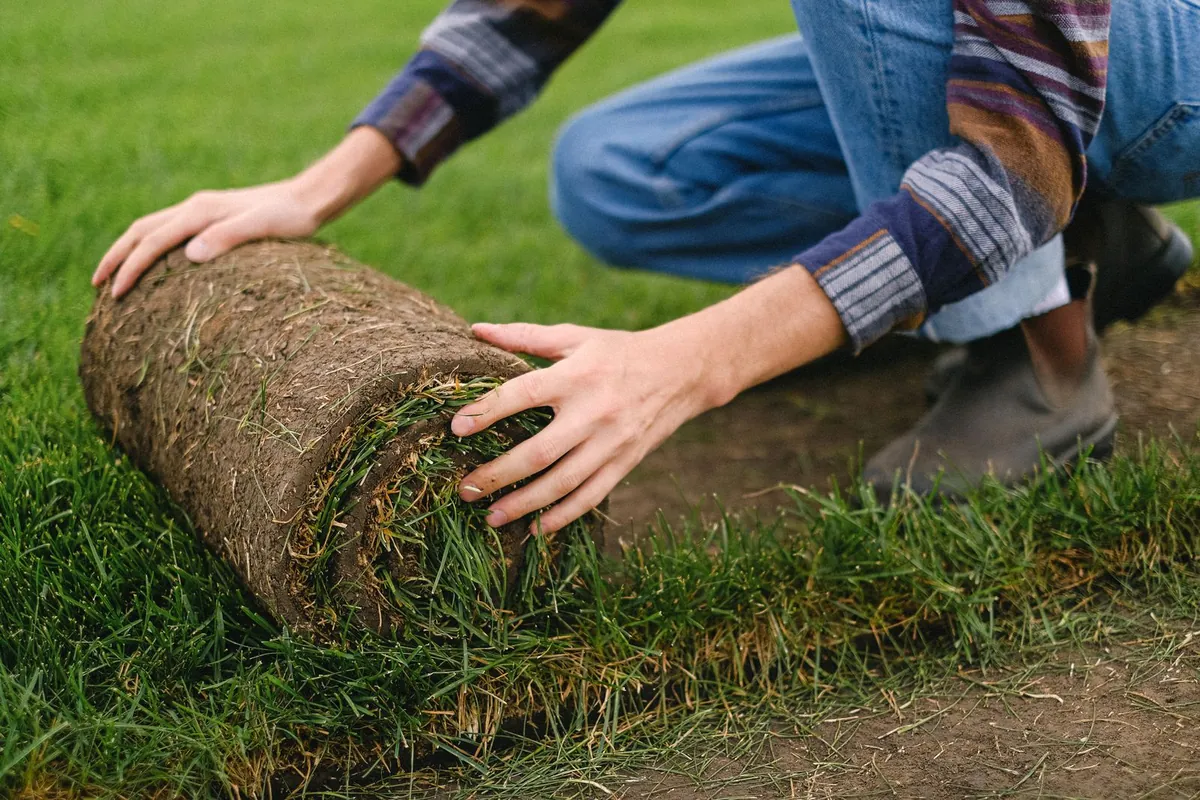
Mow the existing grass as low as it will go, then strip the sod and the organic layer. When people try to lay artificial turf over a lawn they have not cleared, the grass breaks down underneath and the surface sinks. For most garden installs that means excavating three to four inches, roughly 75 to 100 millimetres, of topsoil with a sod cutter or spade. On heavy clay or in a wet region, go deeper and add drainage at the same time.
Rake out every root, rock and piece of debris you can find. Weeds are the part people underestimate. If the patch was weedy, treat it before you cover it. A membrane slows weeds but does not always stop a determined root from a warm seam. Ten minutes with a rake now saves you a lumpy surface underfoot later.
Step 2: Grade for Drainage
Artificial turf does not absorb water, so your whole drainage plan depends on the fall in the base. Shape a slope of about one percent away from the house or any structure. In practical terms that is roughly one inch of drop for every eight to ten feet you travel. Water only leaves a lawn if it has somewhere to go, and a flat level lawn with no fall will sit in puddles.
Walk the graded area and stake any hollow. This is the moment where an extra wheelbarrow of fill is almost free, and the same fill becomes a major job once the compactor has run.
Step 3: Compact the Soil
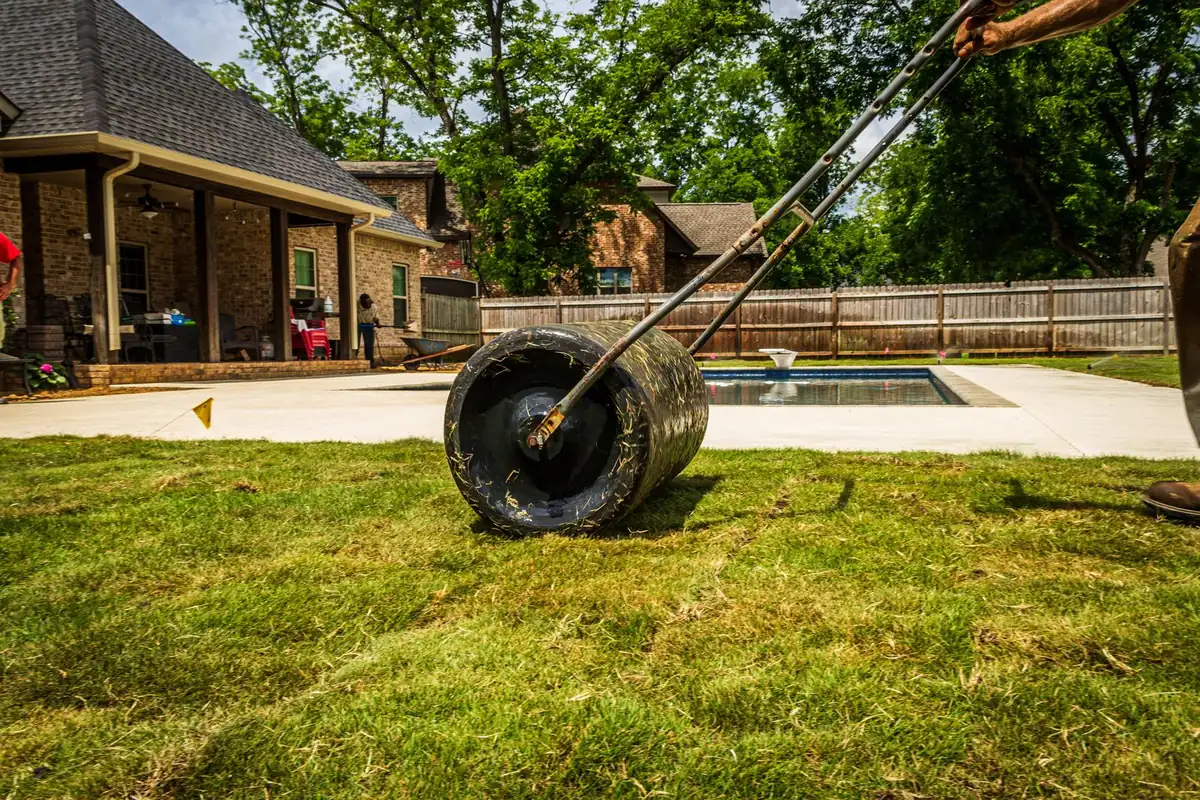
If one step feels optional, it is compaction. It is the opposite of optional. Soil that looks flat when you grade it will settle unevenly under a season of rain and footfall unless it is compacted first. A settling base is the classic cause of turf that develops waves you cannot brush out.
Run a plate compactor over the cleared soil, or hand-tamp small areas, until the surface is firm and holds its shape underfoot. Do the walk test: if the ground bounces when you step on it, it is not ready. Our honest view is that skipping compaction is the most expensive shortcut in the whole job. You pay for it twice when the surface sinks and the turf has to come up.
Step 4: Lay a Weed Barrier
Over the compacted soil, roll out a permeable geotextile or weed-control fabric. Its real job is twofold. It stops weeds from migrating upward through seams, and it stops the gravel base above from working down into the soil. Overlap the strips so no gap remains, and let the fabric lie flat without wrinkles.
If pets will live on the lawn, weigh the fabric choice with your drainage and cleaning routine. Some woven barriers hold moisture and odour more than others. Where the base is clean, hard and weed-free, the membrane can be optional. Where there was grass or soil, we would rather see it than miss it.
Step 5: Build and Compact the Sub-Base
The sub-base is the structural layer that carries every load. Spread crushed stone or aggregate across the fabric to a depth of two to three inches, about 50 to 75 millimetres, for a normal lawn. Increase to three to four inches, roughly 75 to 100 millimetres, for high-traffic or poorly draining areas. Level it with a rake, mist it lightly, then compact in several passes.
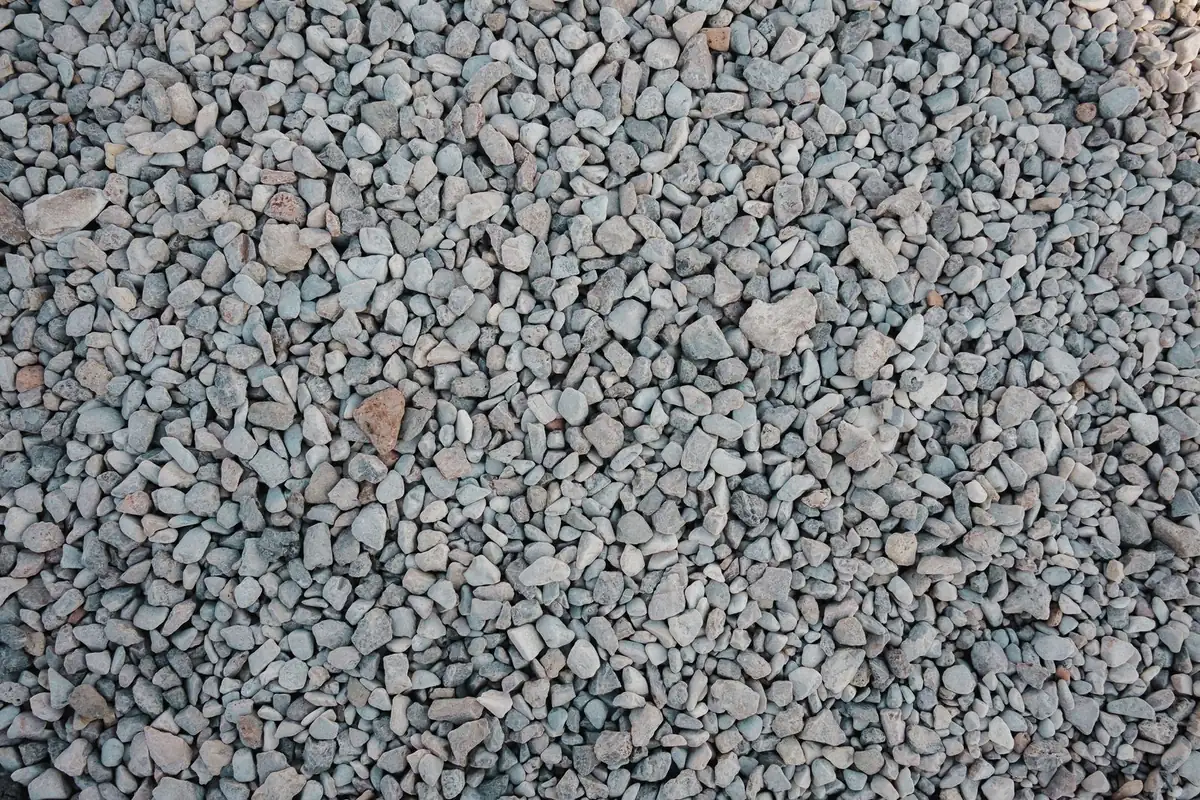
You are done only when the surface is firm and does not move when you step on it. In our language, this is where the backing matters too. The rolls we make sit on a PP base with reinforcing net, and PU coating is there when the job wants extra hold. That keeps the carpet stable over whatever base you build. A good base deserves a dimensionally stable turf on top.
Step 6: Level With Fine Fill
On top of the coarse aggregate goes a thin screed of fine material, usually granite dust or sharp sand. Aim for roughly 10 to 15 millimetres, about three-eighths to half an inch, thick. This layer gives the smooth finish under the turf rather than the grippy face of open gravel. Rake and screed it level with a straightedge, keeping your runoff slope intact.
Run a straight board across the surface and look for light under it. Every dip here would become a visible hollow once the turf stretches over it. A few minutes with the straightedge is the cheapest quality check in the whole process.
Step 7: Roll Out and Let the Turf Acclimate
Now the roll earns its place. Unroll each piece over the prepared base and let it rest in the sun for one to two hours before you trim or glue, so the fold wrinkles relax. It is here that first-timers learn to lay artificial turf flat with a little patience for the pile. While it rests, decide the nap direction: blades lean one way like carpet pile, so every piece must lean the same way or the colour shifts in sunlight.
Lay the pieces so seams fall where you planned them in the first step. Trim rough shapes with a utility knife from the backing side wherever you can. Be careful not to slice into the face fibres. A clean backing cut hides, while a cut through the pile shows forever.
Step 8: Trim to Fit
Work around corners, trees, posts and edges with small, careful cuts rather than one ambitious sweep. Mark the cut, then trim from the backing side with a fresh blade. A sharp knife is the difference between a clean edge and a ragged one. A ragged edge frays first in heavy traffic.
When you reach an obstacle, cut the turf to meet it snugly. Do not stretch it tight against the trunk or post, because heat expansion will find any tension you build in. Leave a small relief so the piece can move without buckling.
Step 9: Seam and Glue
This joint decides whether visitors ever notice you installed turf at all. Trim away the factory edge strip so the two pieces align cleanly. Fold both edges back along the seam line and lay the joining tape smooth-side down underneath. Apply adhesive evenly along the tape, then press the turf edges firmly into the glue from one end to the other. Walk the seam so every part beds down.
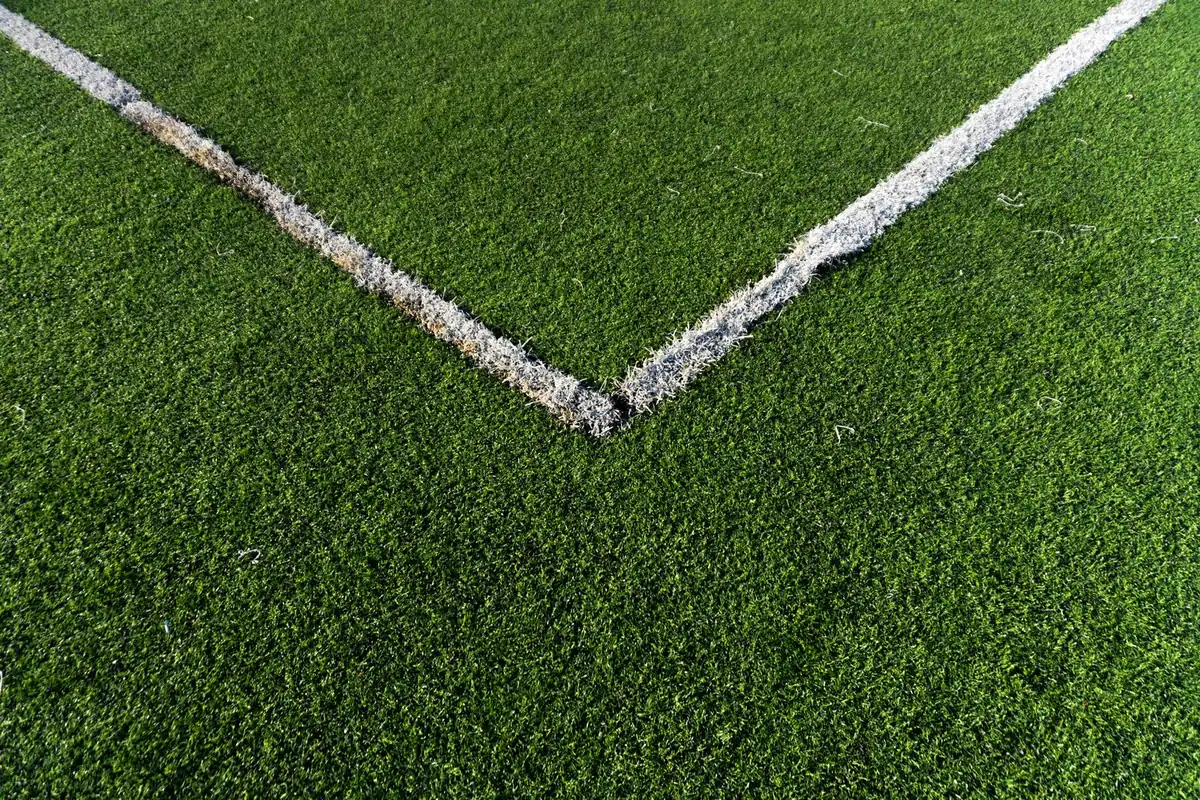
Pin the seam with U-shaped staples every 150 to 300 millimetres, or six to twelve inches, for extra stability. The trick people miss is that a seam is more visible when the two pieces fight each other. Line up the pile direction and keep the joint tight but not stretched. Done right, you have to point out the seam for anyone to see it.
Step 10: Secure the Edges
Edges fail first, so give them the attention the centre never needs. Along soil edges, fix the perimeter with landscape pins or staples spaced about eight to twelve inches apart. Pull the turf outward gently as you pin so it stays flat and wrinkle-free. On a hard surface such as concrete or paving, pins have nothing to bite, so glue the edge down or tuck it under a fixed edging strip.
Walk the whole perimeter after pinning and check for loose spots. A windstorm or a running dog will find the first gap you leave. Make the edges the tightest part of the job, not the last thought.
Step 11: Brush In the Infill
Infill is the ballast that weighs the turf down, keeps the blades upright and helps the surface hold its shape. Spread a coated or silica sand evenly over the lawn, then brush it down to the base with a stiff or power broom so the fibres stand back up. How much you use depends on the system. Some infilled constructions need a full sand load, while low-pile or padded turfs run with little or none.
Our view is that you should follow the specification you ordered rather than guess by eye. Too little infill and the blades lie flat and the turf creeps. Too much and it feels gritty underfoot. If you are unsure what your roll needs, ask before you buy the sand, because the answer changes the feel of the finished lawn.
Step 12: Final Grooming and Rinse
Finish with a second brush to lift the fibres into a natural, relaxed look. Then give the lawn a light rinse to settle surface dust and help the infill bed in. Do a final walk to check for loose edges, uneven seams and standing water, and fix any problem while the tools are out. After that the lawn is ready to use, and the upkeep ahead is far simpler than the install.
Get the Right Roll for Your Job
Send us your site dimensions and we will help you choose the roll width that minimises seams. Confirm the buy quantity with room for cuts, and free 20 x 20 cm samples ship with the quote, so your hands sign off on the pile first.
Tools and Materials You Will Need
| Stage | What you need |
|---|---|
| Clear and grade | Sod cutter or spade, rake, string and stakes, weed treatment |
| Base | Crushed aggregate, granite dust or sharp sand, plate compactor or tamper |
| Lay | Geotextile fabric, utility knife with fresh blades, straightedge |
| Seam and edge | Seam tape, turf adhesive, U-shaped staples or landscape pins |
| Finish | Infill for your system, stiff or power broom, garden hose |
| Material | Turf rolls sized by area, plus five to ten percent for cuts |
Ordering the right quantity is where our numbers help: a 2m by 25m roll covers 50 square meters and is the easiest to move. For most single lawns a 4m by 25m roll, 100 square meters, is the safest default with the fewest seams. A 5m by 25m roll, 125 square meters, suits big open areas where you want almost no joints. Learning how to lay artificial turf well means pricing the whole system, not just the roll. A factory-direct indicative range of $7-60 per square meter only makes sense once you add base, infill and labour.
DIY vs Professional: Make the Honest Call
A straight answer helps, because both options are legitimate and the wrong one costs the same either way. DIY genuinely wins on small, flat, straightforward lawns where you have a weekend, the right tools and patience for the base. It also wins on budget, because the largest line in an installed quote is labour, and doing it yourself keeps the cost to materials.
Hire a professional when the job fights back, meaning a large area, a serious slope, drainage problems, or a deadline you cannot miss. Contractors carry plate compactors, laser levels and the experience to read a base before the turf goes down — exactly where amateurs burn the most money. Whichever route you take, buying factory-direct is the shared lever, because every roll we cut to order. The free samples and straightforward 2/4/5m roll sizes are available whether you fit it yourself or hand the base to a crew.
Frequently Asked Questions
How many rolls of artificial turf do I need?
Measure the area in square meters and add five to ten percent for cuts. Pick the roll width that fits, then divide by the roll’s coverage.
Do I need infill for artificial turf?
It depends on the system. Infilled turf needs a sand load to hold blades up and add weight. Low-pile or padded turf may run without it. Check your spec.
How long should turf settle before use?
Let the rolls rest one to two hours in the sun to relax wrinkles before trimming. After infill and grooming, the lawn is ready the same day.
Can I lay artificial turf over old grass?
Not directly. Strip the sod and organic layer first, because grass and roots break down, settle and cause waves. Always install over a cleared, compacted base.
What if my yard is sloped?
Grade a consistent fall of about one percent away from the house for drainage. Steep slopes need proper base retention and may be worth a crew.
 English
  Arabic
  French
  German
  Portuguese
  Russian
  Spanish