

Edges take more punishment than any other part of a synthetic lawn. Crews step across them, pets paw at them, and every rainfall tests the line where grass meets soil, paving or sleepers. When an artificial turf installation fails early, the story usually starts at the perimeter.
Artificial turf edging is the frame that keeps the picture intact. It locks the turf down, holds the compacted base in place, and gives installers a clean line to trim against. We build artificial grass rolls on our own line, and reviews of delivered projects keep showing us the same thing: edge planning decides whether a lawn ages well. Below is the full decision chain, from forms and site matching to installation, mistakes and handover checks.
Why Edges Decide How a Turf Lawn Ages
Almost every artificial turf installation leans on its perimeter. The borders are where people step on and off the lawn, where children cut corners at play, and where pets instinctively paw and dig. Industry guidance describes these zones as the first places a surface begins to fail.
When the edge loses its grip, the damage follows a familiar pattern:
- Turf edges lift or curl as traffic, pets and temperature changes work the perimeter loose.
- Rainwater washes base material out from behind the border, leaving dips and uneven patches.
- Fasteners that lost their backing support shift or pull out, inviting ongoing repairs.
- Open, unsealed edges give weeds a path straight into the lawn.
None of these are turf problems. They are containment problems, and they are cheaper to prevent at installation than to chase for years afterwards.
Common Edging Forms and Where They Fit
Most artificial turf edging falls into a handful of families, each with a natural place in a project. Along existing concrete paths or driveways, the hard surface itself can serve as the edge, with turf glued and tucked against it. In open gardens, flexible plastic and composite strips follow curves and hold soil back. Permanent builds graduate to treated timber, metal or poured concrete, while playgrounds and sports fields use heavy-duty systems anchored deep into the sub-base.
| Form | Where it fits best | Watch-outs |
|---|---|---|
| Timber and sleepers | Natural look, raised beds, budget projects | May need replacing in 8 to 10 years as it rots |
| Composite plastic | Timber-like installs that must not rot | Higher upfront cost; many products rated for 25 years or more |
| Steel or aluminum | Curves, modern designs, high-traffic lines | Costs more; needs specific fixings and, for steel, power tools |
| Concrete or pavers | Patios, walkways, permanent frames | Often needs adhesive or U-pins to hold the turf edge |
| Bender board | Smooth curves around beds and paths | Pre-made profiles limit custom shapes |
| Pre-formed plastic edge | Fast installs on compacted base, hidden cut line | Poor installation can warp lighter groove designs |
| Buried edge | Natural look against soil or pebble | Trench must fully hide the backing |
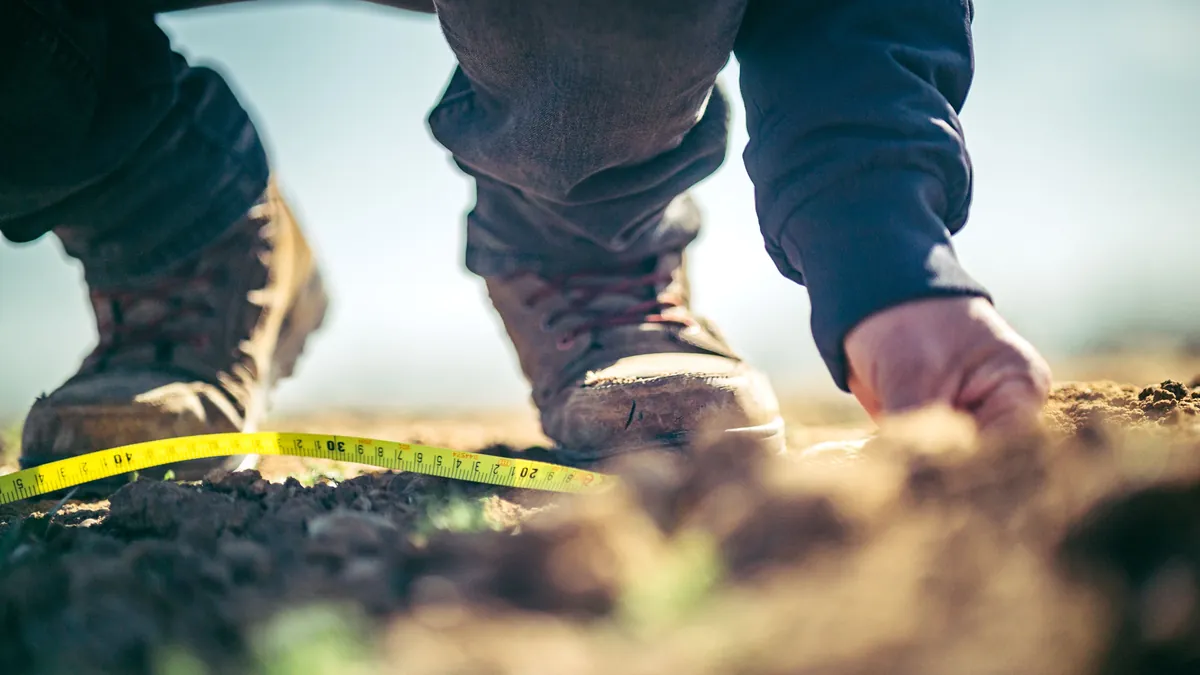
Steel earns its price on durability: it will not decay, rust or rot, and it holds a line for decades. Aluminum trades a little toughness for easier handling. Both bend to radii that timber never will, which is why modern designs lean on them.
Choosing Edging for Your Site Conditions
Match the artificial turf edging to the site, not to a catalogue. The same border that shines on a front lawn can struggle behind a dog run or at the foot of a slope. Published installer guidance points to a few recurring scenarios.
- Pet areas: dogs scratch and pull at edges, so composite plastic or metal resists chewing and will not loosen or rot.
- Slopes and heavy rain: soil erosion is the enemy, so concrete haunching, pavers or sleepers give the barrier the sub-base needs.
- Curved layouts: flexible bender board and composite strips shape smooth arcs around trees and beds.
- Low-traffic decorative borders: paving or timber gives a neat line without heavy-duty reinforcement.
- Hardscape junctions: the concrete or paver edge takes over, with adhesive and caulk finishing the joint.
Drainage deserves a seat in this decision too. Well-placed edging helps manage runoff and reduces puddling, while a border that traps water works against the whole base layer beneath it.
Installation Sequence From Base to Brushing
In most artificial turf installations the border goes in after the base is compacted and before the turf is rolled out. The sequence matters because every later step inherits whatever the base work left behind.
Excavate the perimeter strip to about 3 to 4 inches, clear debris and old roots, and compact each layer to at least 95 percent. Place the edging flush with the planned finished height, staking it roughly every 12 to 16 inches and closer on curves. Some installers hold 6 to 12 inches on runs that carry heavy traffic. Backfill soil or base material behind the border and tamp it down so rain cannot push it outward.
Roll the turf out over the finished base, trim the excess with a sharp utility knife, and leave a slight allowance for the expansion that heat brings. Fix the perimeter with nails, staples or U-pins spaced evenly at about every 6 to 8 inches so the turf cannot lift. Tuck the cut edge against or under the border, brush the fibres upright, and work infill out to the line so the edge holds and blends.
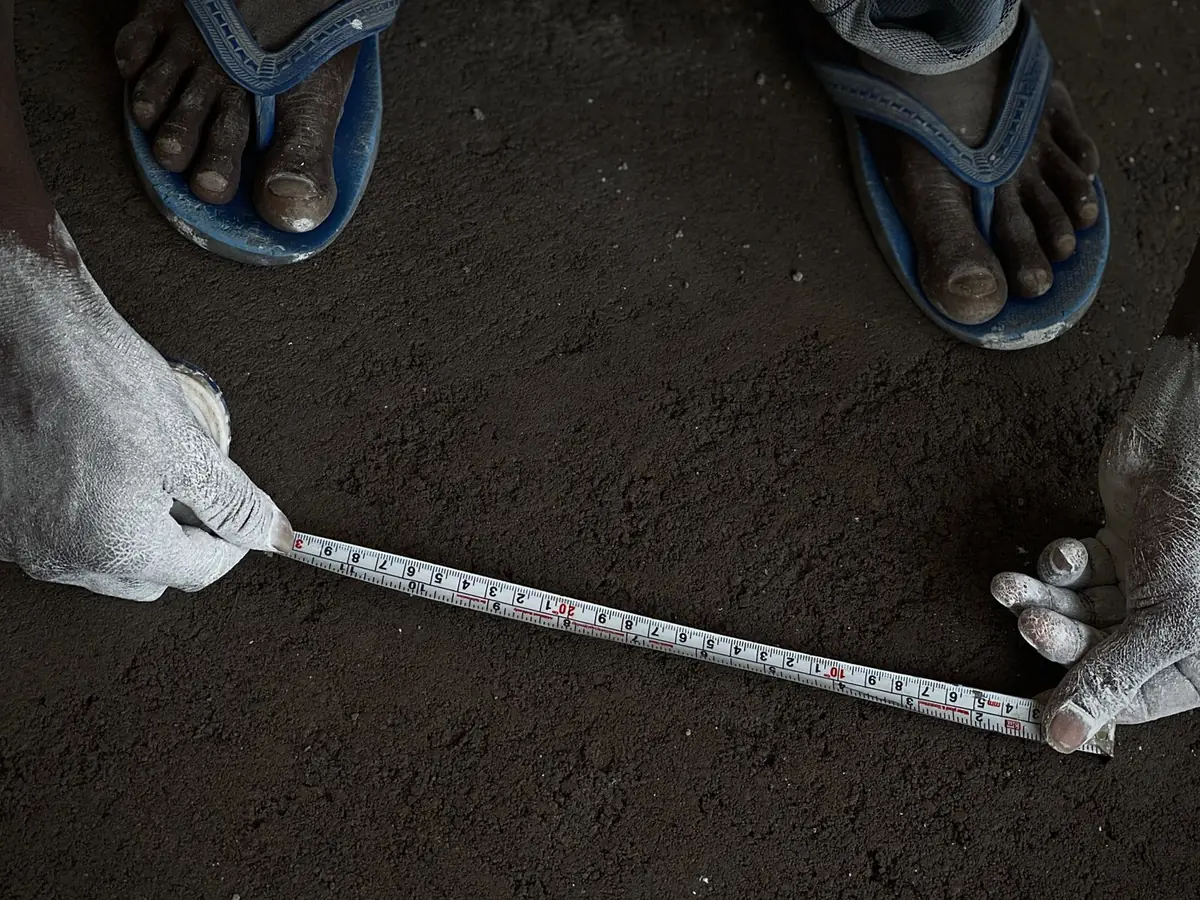
Where turf meets a concrete walkway or patio, the method shifts. Trim the backing back, run outdoor adhesive along the hard surface, and press the turf into it. Caulk the seam before traffic returns. Buried edges follow another path: a trench of 3 to 4 inches hides the backing, and soil or pebble is pressed in over the folded edge.
Five Edge Mistakes That Shorten Turf Life
Most artificial turf edging failures trace back to a handful of habits. Each one below is easy to commit on a busy site and easy to catch before the turf goes down.
Mistake 1: Skipping Compaction at the Perimeter
A plate compactor passed right up to the border is what keeps the ground stable and level. Loose soil settles after the first storms, the edge dips, and the lawn reads as uneven from the door.
Mistake 2: Starving the Edge of Fasteners
Fasteners spaced too far apart let the turf lift between fixing points. The published rhythm, roughly every 6 to 8 inches for perimeter pins, exists because lifting starts exactly where spacing stops.
Mistake 3: Ignoring Backfill Behind the Border
An unbackfilled border stands like a wall without footing. Soil or base material tamped in behind the edging is what stops it from pushing outward after rain or ground movement.
Mistake 4: Forcing Straight-Run Methods onto Curves
Methods that suit flat, straight runs fall apart on radii. Curves need closer stake spacing, angled pieces and genuinely flexible material, or the border fights the shape instead of following it.
Mistake 5: Letting Gaps and Weeds Wait
A gap at the perimeter is an invitation. Once weeds find the seam, they widen it. Lift the section, lay a weed membrane or barrier, and re-secure the turf tightly to the border before the intrusion spreads.
Acceptance Checklist for a Clean Edge Handover
An edge is either signed off against criteria or argued about later. Walk the perimeter once with these six checks and the handover stays factual.
Check 1: Flush Top Line Against Planned Grade
Run your hand along the border. The edging should sit level with the planned finished height of the turf, proud nowhere, sunken nowhere.
Check 2: Fastener Rhythm You Can Count
Measure a few runs. Perimeter pins at about every 6 to 8 inches, stakes at 12 to 16 inches, closer on curves: if the rhythm holds for three runs, it likely holds everywhere.
Check 3: Backfill Compacted Behind Every Run
Press a boot heel behind the border. Soft spots mean the backfill was skipped, and every one of them becomes a push-out candidate after the first wet month.
Check 4: No Backing Visible at the Joint
Look across the line at eye level. The cut edge should be tucked against or under the border with the backing hidden, and the fibres brushed upright to blend the join.
Check 5: Drainage Still Moving
Confirm water can still leave the surface. A border that dams runoff works against the base and shortens the life of everything above it.
Check 6: Trim Lines Reviewed in Daylight
Walk the line in open light with the fibres brushed up. Ragged cuts, visible seams and missed allowance for expansion all show under a low sun that a torch hides.
What Happens When Your Perimeter Lets Go?
Loose edges are where a lawn fails first. Hand us your edge plan; we build factory-direct rolls to your spec, typically 30–50% below market prices on like-for-like specifications.
Keeping Edges Sound Through the Seasons
Seasonal checks keep artificial turf edging honest. Borders move slowly, which is why small shifts go unnoticed until they are expensive; a rhythm of light inspections keeps repairs small.
- After heavy rain: look for lifting, gaps or border movement while the cause is still fresh.
- Monthly in season: clear debris and organic litter from the line, since weeds grow from what collects on top.
- Twice a year: re-secure any lifted area with extra stakes or adhesive before it travels further.
- Winter: clear snow gently and re-affix loose edges once the thaw arrives.
A weed barrier fabric laid during installation, topped with mulch or gravel at the border, does quiet preventive work all year.
Matching the Roll to Your Edge Plan
Your artificial turf edging plan should arrive together with the roll specification, because roll width decides how many seams and trim runs the border has to absorb. Roll choice shapes the arithmetic of any artificial turf installation: fewer joins mean fewer places for the perimeter to work loose.
| Roll width | Where it fits best | Edge implication |
|---|---|---|
| 2 m × 25 m | Small areas and tight access | More edge runs and more joins to trim |
| 4 m × 25 m | Most layouts, the standard choice | Fewer seams, straightforward perimeter trimming |
| 5 m × 25 m | Large open areas | Minimal joins; wider strips leave more trim waste at curves |
| Custom widths | Complex or irregular shapes | The edge line can run without a join at all |
We produce rolls of 2, 4 and 5 metres by 25 metres, with custom widths for layouts the standards cannot serve. Pile height, density, colour and PP+Net or PU backing are built to a stated brief. See the standard roll formats or the residential artificial grass range to frame your layout before you fix a border design.
When the spec needs to move away from the standards, our custom pile heights, densities and colours follow the same brief. A sample square remains the honest way to rehearse your trim and tuck before the bulk roll arrives. Commercial turf carries a service life of up to 10 to 15 years, and a border planned with the roll helps a surface reach the far end of that band.
Frequently Asked Questions
Do all artificial turf installations need edging?
Yes, in practice all of them do. Edging stops the perimeter from lifting, curling or fraying, keeps the base compact, and gives installers a clean line to trim against.
How deep should a trench be for buried edges?
Plan a trench 3 to 4 inches deep, enough to hide the backing fully. Fold the excess backing in, then backfill with soil or pebble and press it down firmly.
What spacing should perimeter fasteners follow?
Space fasteners evenly, about every 6 to 8 inches, so the turf cannot lift. Edging stakes sit at 12 to 16 inches, pulled closer wherever the border curves.
How long do common edging materials last?
It depends on the material. Timber often needs replacing after 8 to 10 years, composite plastic is rated for 25 years or more, and concrete curbing lasts over 30 years.
Why do artificial grass edges lift after rain?
Usually the border was under-fastened or the drainage is poor. Re-secure the turf with longer pins, re-compact the base, backfill behind the edging, and check that water can escape.
Can I verify edge craft on a sample first?
Yes. Request free 20 by 20 cm samples, usually three to four pieces, shipped by DHL or FedEx in 4 to 6 days, and rehearse your trim and tuck on them.


 English
  Arabic
  French
  German
  Portuguese
  Russian
  Spanish