
Every golfer who three-putts on Saturday has sketched a backyard putting green on the back of an envelope at least once. The dream usually dies at the first contractor quote. One r/Turfmanagement homeowner was quoted about $22 per square foot, which he noted was almost as much as a wooden deck. So he did what a growing number of players do: he decided to build the thing himself.
An artificial turf installation puts that first quote within reach of a competent DIYer. A backyard putting green is the realistic choice for most homes, and the numbers behind that claim sit just below. One boundary deserves honesty up front: a synthetic green rewards the putter, not full wedge swings. Every roll of green turf we ship is tufted, coated and inspected on our own line before it leaves the floor. We also cut green turf to the width a plan calls for, which is why most shaped greens install without a visible seam.
Natural Grass or Synthetic Turf: The Honest Tradeoff
The natural-versus-synthetic question deserves numbers, not vibes. The USGA’s Green Section interviewed builders who maintain putting greens for a living, and their natural-grass math is blunt. Even a modest public course can spend more than $10,000 per year maintaining each green. Growth-season mowing happens daily at an eighth of an inch, pest products need licensed hands, and irrigation has to be dedicated rather than borrowed from the flower beds. The same article notes that homeowners who try to maintain a backyard green themselves almost always give up.
Cost tells the same story. A properly constructed bentgrass green runs $18-$20 per square foot with a reputable contractor, and that figure covers putting green materials only, not irrigation. Synthetic builds land near $25 per square foot of green and surround, with premium custom work above $30. Site work, access and surprises push both routes higher, so treat any per-square-foot figure as a starting line, not a ceiling.
Size flexibility closes the argument, because a synthetic green can be far smaller than the smallest playable natural green. For scale, a USGA study found the average green on an American course runs about 5,500 square feet. Small is not a compromise here; it is the budget lever.
So the verdict for most yards is an artificial turf installation, and a backyard putting green built this way comes with one honest boundary. A synthetic surface rewards the putter and the touch player. Full wedge shots land hard on a compacted base and bounce out, which is exactly what experienced builders warn about. If your goal is saving three-putts and sharpening stroke feel, the rest of this build is for you.
Choose a Location and Design Your Green
Start with the ground you already own. XGrass wants a kit green on a surface with no more than a 3 percent slope, and that ceiling is a sensible rule for any build. An artificial turf installation lives or dies by its site. Pick ground that drains, sits away from windows and doors, and leaves a clean path for wheeling in base material. Access matters more than most plans admit, since one builder told the USGA that cranes sometimes lift putting green materials into backyards.
Design freedom is the real advantage over natural grass. Because no mower needs to climb the surface and no sprinklers need coverage, a synthetic green can be small, skinny or amoeba-shaped. It can wrap around a pool, a tree or a patio corner, which is how a backyard putting green becomes a landscape feature instead of a carpet patch. Sketch the outline at full scale with spray paint, and mark every cup position while you are down there.
Resist the urge to max out square footage on day one. Synthetic greens play well far below the 5,500-square-foot course average, and a smaller footprint leaves budget for the base work that actually decides quality. Leave a collar of fringe or a hard edge in the sketch, because the surround is where most of the finished look comes from.
Pick Between a Kit and Custom Rolls
Kits bundle the engineering. A putting green kit ships interlocking base panels, pre-cut putting turf, pre-cut fringe and a numbered layout map, so assembly runs closer to furniture than construction. XGrass still recommends two people, and its kit panels carry cup holes cut at the factory. The USGA credits these interlocking base plates with making artificial turf installations realistic for weekend builders.
Custom rolls solve what kits cannot. Most stock turf arrives in widths near 7.5, 12 or 15 feet, and every seam you avoid is a maintenance line you never own. The rolls we cut to order run 2, 4 or 5 metres wide by 25 metres long, which covers 50, 100 or 125 square metres per roll. Shaped to those widths, a green installs without internal seams at all.
That single-roll approach is where a manufacturer like Relyir earns its keep, with material pricing that runs $7-60 per square metre indicative. If your shape is unusual, order a custom-sized sample first and expect an extra 10-15 days of production on it.
The decision rule we give buyers is simple. Choose a kit when the yard is flat, the outline is simple and the backyard putting green is mostly for fun. Choose custom rolls when the design has personality, because turf is the smallest line item in a build you will live with for a decade.
| Decision | Putting green kit | Custom rolls |
|---|---|---|
| Best fit | Flat yards, simple outlines, weekend builds | Shaped greens, wide spans, finished surrounds |
| Shape freedom | Fixed panel geometry with pre-cut layouts | Any outline, cut once on site |
| Seams | Panel joints engineered to lock | Width matched to plan, often seam-free |
| Parts | Green, fringe, cups and sleeves included | Green and fringe specified separately |
| Budget logic | Bundled convenience, fewer decisions | Material priced per square metre, $7-60 indicative |
Choose Putting Turf and Fringe Grass
Now the surfaces, because a green is really two products. The putting surface comes in nylon or polypropylene, and both have improved fast, according to the installer the USGA interviewed. Sand-filled nylon putts closest to a real green and stands up to short shots, but it wants sand worked into the fibers regularly. A lower, denser nap rolls faster and truer, which is why carpet-grade turf never plays like a green.
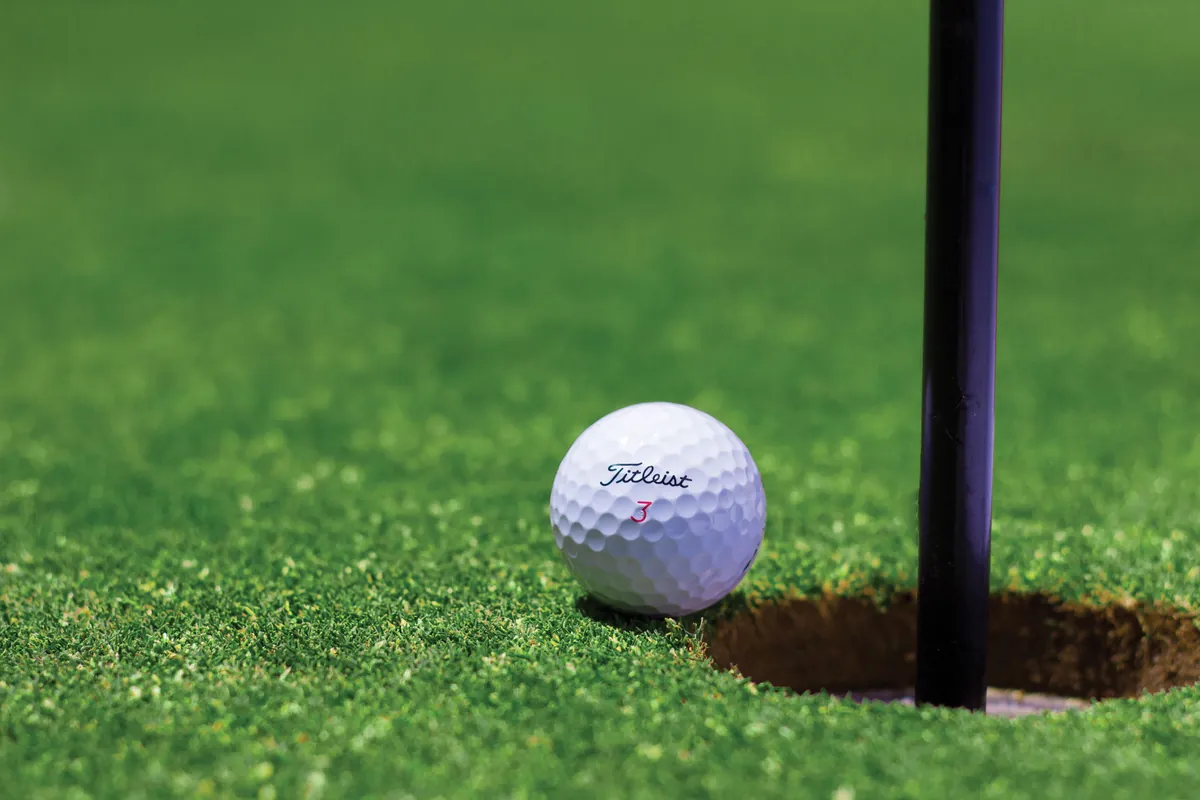
Fringe is the second product, and every competitor guide treats it as an afterthought. It is longer, usually darker, and it frames the green the way a mat frames a photo. XGrass budgets 16-18 inches between the putting surface edge and the panel boundary, leaving about 3 inches of fringe hanging past the edge for a finished look. On our QC bench we treat the two zones as separate specifications. A fringe that matches the green in color but not in texture reads as fake from the patio.
When you compare an artificial grass putting green supplier, price the green and the fringe as separate line items. Bundled quotes hide the trade-offs. Our default pairing is a true-rolling green with a slightly longer, darker fringe, because the contrast is what makes the build read as intentional.
Shape the Base for Breaks and Drainage
Under every good green is a base built twice: once for strength and once for shape. Builders typically start with 2 to 4 inches of gravel, then add 6 to 8 inches of compacted aggregate on top. One installer quoted by the USGA favors granite screenings for the body of the base, with finer screenings on top to shape the putting contours. That crown, slightly higher in the middle like a turtle shell, lets rain shed off the surface instead of pooling into algae season.
Shape is where a backyard putting green stops being a carpet and starts being a game. Undulations are pressed into the finer top layer, and every break you build is a putt you can practice at home. Think of it like tuning a drum head: flat only gets you started, and the contour underneath decides the sound. Rent a plate compactor, work in layers, and keep every slope running away from the center so puddles never find a home. The first evening you rake the screenings and see light wrap around a contour you shaped by hand is the moment this stops feeling like yard work.
The full layer-by-layer stack, from subgrade to geotextile, is its own subject, and our guide to what goes under artificial grass covers it in depth. Here, one warning earns its place. Skip a compaction pass and the base settles wherever the roller was lazy, which is how low spots and standing water are born.
Place the Cups and Cut the Holes
Cups are a commitment on a backyard putting green, because a synthetic surface cannot move them the way a superintendent switches pin positions. Plan every cup during the design stage, and let variety drive the count: short, long, uphill, and at least one that breaks twice. A larger green with more holes gives you more practice per square metre than a longer single run ever will.
The installation itself is straightforward. XGrass digs each hole about 8 inches across and 8 inches deep, then seats a sleeve with four triangular cuts in the bottom for drainage. Aggregate backfill locks the sleeve in place, and a deck washer rings the cup, stapled five or six times. The turf hole is cut last, pierced in the middle and trimmed in an X out to the cup edge.
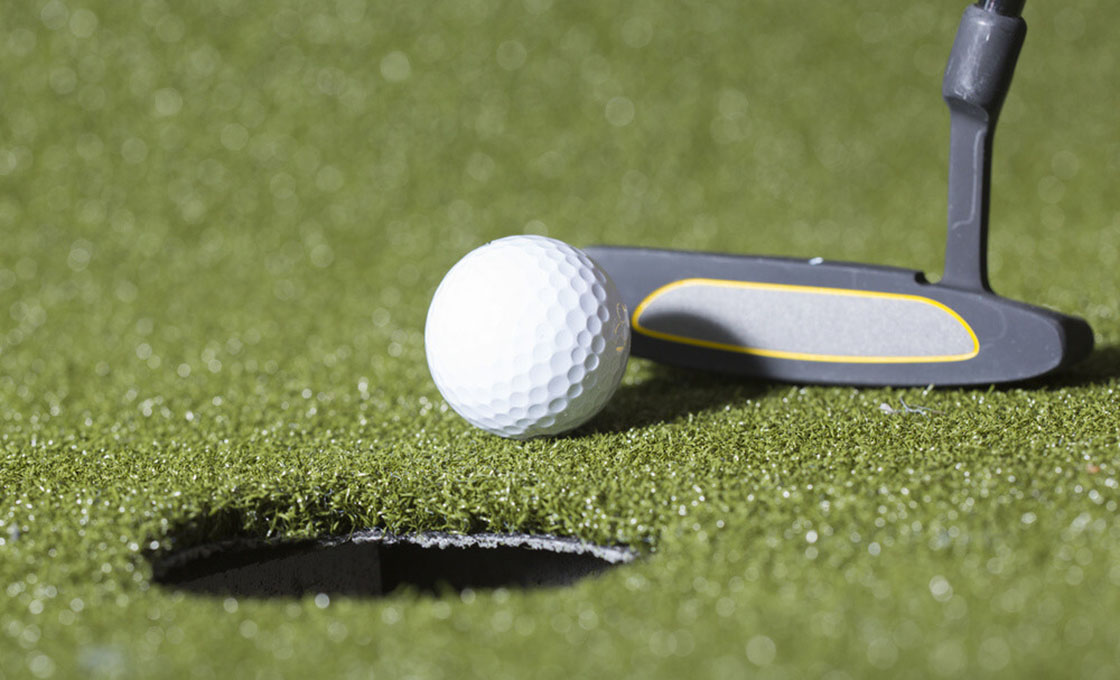
Two finishing details separate clean builds from frustrating ones. Home Depot recommends checking that a 3-foot radius around every cup is smooth and level, since that ring is where every putt begins and ends. Optional touches from the DIY thread include a gravel trench under each cup, conduit for cup lights, or poured concrete around the sleeve.
Lay the Turf and Blend the Fringe
Laying starts at the center and works out. Set the putting surface first, then fit fringe panels around it, matching the numbered layout if you are on a kit. Overlaps get cut so seams line up, a seam roller blends the joints, and the fringe either wraps under the edge or dresses against it. Finished borders come down to taste: leftover sod from the excavation, decorative stones, or a bend-a-board edge staked every couple of feet.
Seams deserve respect, because the failure stories are vivid. The USGA’s installer has watched everything from peeling seams to entire greens washed into swimming pools, usually traced back to saved pennies on adhesive or coatings. If your turf supplier recommends pre-shrinking the roll, wet it down and let it rest a full day before any seaming. The extra day is cheaper than the rebuild.
Feel the Green Before You Commit
Specs decide this project, so trust your hands over any datasheet. Send us your yard dimensions and target speed, and when we pack sample swatches you will get the exact green and fringe turf you are weighing. Free 20cm x 20cm samples ship by DHL or FedEx in 4-6 days, with remote addresses at 7-9 days.
Get the Green Speed Right for Your Game
Green speed is measured with a Stimpmeter, a simple ramp that records how far a ball rolls off the end. The USGA’s installer puts a typical standard nylon surface at 11 feet or less, while a sand-filled nylon green can reach close to 13 feet. Those figures are worth chasing in moderation. A green putting at the fast end of that band still teaches stroke, without the upkeep schedule the top end demands.
Speed on an artificial turf installation is never one ingredient. It is the surface material, the sand topdressing if you choose a filled system, and the firmness of the base underneath, all compounded. If you are weighing fillers, our breakdown of infill options covers the sand-versus-rubber trade-offs. Our default advice is a mid-band green on a firm base, because speed you cannot repeat is just a party trick.
Whatever speed you land on, keep it by keeping the surface clean. Leaves, clippings and debris will slow ball roll before any other part of the green wears out. A soft brush and the occasional sand top-up on filled systems is the whole routine. None of it eats a weekend, which is the entire point of choosing synthetic in the first place.
Common Mistakes That Ruin a Backyard Green
Most artificial turf installation failures are planning failures wearing work gloves. The first is the flat build: a base with no crown and no contours produces a green with nothing to read. The second is rushed compaction, which settles into low spots and standing water within a season or two. The third is bargain adhesive and thin UV coating, the exact shortcuts behind the peeling seams and washed-out surfaces the USGA documents.
Expectation errors cost just as much as construction errors. A synthetic green will receive gentle chips honestly, but hard wedges bounce off the firm base, a warning the DIY crowd repeats on every thread. And a green with one cup is a demo, not a practice station, so plan the layout with variety from the start.
Commitment is the quiet variable in all of these projects. Even the USGA author whose interview anchors this page built a bentgrass green that died, and he wrote the failure up himself. Build for the game you actually play, size it to the yard you actually have, and the green earns its keep every evening after work.
Frequently Asked Questions
How long will a backyard putting green last?
A well-built synthetic green should give 10 years or more of service, per the USGA’s installer interviews. Debris control and periodic care set the real pace.
How many cups should I plan for?
Plan cup locations during construction, because synthetic surfaces cannot move them later. Let variety drive the count, and give every cup about 3 feet of smooth, level radius.
How fast will my green putt?
The USGA’s installer interview puts a typical standard nylon surface at 11 feet or less on the Stimpmeter, and sand-filled nylon close to 13 feet. Base firmness tunes the feel.
Can I chip onto an artificial green?
Expect honest putting and gentle chips, not tour-style check. Hard, compacted bases bounce landing shots, so build for the putter first and keep wedge expectations realistic.
Is a kit or custom rolls the better buy?
Kits suit flat, simple outlines and weekend timelines. Custom rolls suit shaped designs and wider spans, where width-matched rolls remove internal seams entirely and usually win on material math.
What does a backyard putting green cost?
USGA guide figures run about $25 per square foot for synthetic greens and $18-$20 for natural, before irrigation. Factory-direct material sits below those installed prices at $7-60 per square metre indicative.

 English
  Arabic
  French
  German
  Portuguese
  Russian
  Spanish