
Most hard-floor turf jobs fail at the base, not the grass. This guide shows how to prepare the surface to lay synthetic grass on a hard floor. The slab, drainage and edges then carry the load that keeps the surface flat for years.
Our team has handled slab inspection, drainage correction and seam layout on balconies, rooftops and commercial decks. The steps below turn those field lessons into a checklist you can run before any roll is cut.
What Counts as a Hard Floor Here
A hard floor is any rigid, non-soil substrate that will not accept stakes or nails. The five types we meet most on projects are concrete, tile, asphalt, wood decking and waterproofed roof membranes.
Each type changes your glue, underlay and seam plan. Concrete and tile are dense and stable but need a clean, dry bond. Asphalt softens in heat. Wood flexes. A roof membrane must never be pierced.
| Substrate | Typical use | Key prep difference |
|---|---|---|
| Concrete | Balconies, patios, basements | Clean and dry; PU adhesive; foam underlay |
| Tile | Pool surrounds, terraces | Mechanical key; leave drainage channels open |
| Asphalt | Drive courts, hardstands | Heat-stable PU; avoid solvent glue |
| Wood deck | Raised platforms | Fix plus glue; breathable membrane |
| Waterproof roof | Rooftop decks | Float lay; drainage mat; no drilling |
On our line we treat a waterproofed roof as its own class. You float the turf and drain beneath it rather than fixing through the membrane, because one puncture can void the whole waterproofing system.
For typical balcony and rooftop products, review the residential artificial grass range before you specify.
Before you learn how to prepare the surface to lay synthetic grass on a hard floor, confirm which of these five substrates you are standing on. Every later step depends on that answer.
Inspect the Slab Before Anything Else
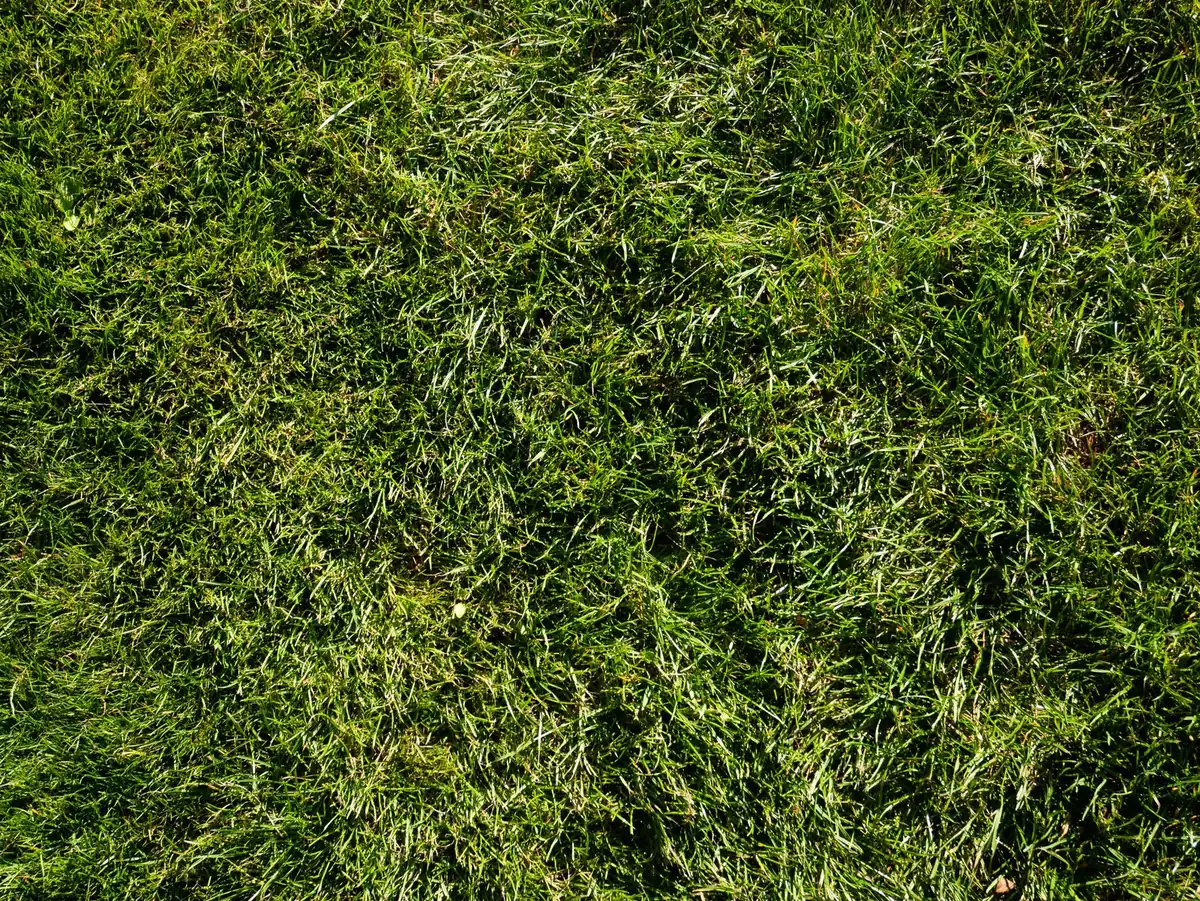
The first move in how to prepare the surface to lay synthetic grass on a hard floor is a careful slab inspection. It finds hidden faults before they telegraph through the turf.
Tap the slab with a rubber mallet to locate hollow spots, where a drum sound means lost bond to the substrate below. Mark every hollow, crack and spall with chalk so nothing is missed during prep.
Pour water across the area and watch for low points that hold a film for more than a few minutes. Concrete cannot absorb water, so any standing puddle becomes a permanent damp zone under the grass.
Check moisture with a calcium chloride test where the slab is new or suspect. Aim for a reading below 3 pounds per 1,000 square feet over 24 hours before any adhesive goes down.
Confirm the waterproofing on roofs and balconies in writing before you start. A written sign-off protects you if a later leak is blamed on the turf work.
Clean and Degrease the Surface
Sweep loose grit, then wash with a pressure spray to lift dust and biological film. On roofs and balconies keep the pressure modest so you do not stress the waterproof layer.
Treat oil and grease with a concrete degreaser, scrub, and rinse with clean water until the surface feels tack-free. Oil is the number one reason a bonded edge lets go within a season.
Let the slab dry completely before the next stage. A damp substrate traps solvent and weakens the glue line, which is the failure mode we see most often on balconies.
For our bench the rule is simple: if water beads or the slab feels cool and dark, wait. A clean, dry base is cheaper than re-laying a lifted section six months later.
Repair Cracks, Spalls, and Uneven Spots
Fill cracks and pits with a polymer-modified cementitious compound, and use a self-levelling screed on broad dips. Feather the edges so the repair meets the surrounding slab smoothly.
Grind down any high spots that sit proud of the surface, because a single proud edge will show as a shadow line through the turf and underlay.
Check flatness with a straightedge: the industry tolerance is no more than a quarter inch of variation across ten feet. Beyond that, undulations read clearly through the grass.
Allow the repair to cure per the compound maker’s guidance before you lay anything on top. Rushing the cure traps moisture and can crack the patch under load.
Plan Drainage Before You Lay a Single Roll

Drainage is the part of how to prepare the surface to lay synthetic grass on a hard floor that most crews skip, and it is the part that fails first.
Set a fall of 1 to 2 percent toward a drain or an open edge so water never pools. On a closed slab, water has nowhere to go except under the turf.
Drill weep holes of 8 to 10 millimetres at low points, about 50 centimetres apart, and fill them with small gravel so they stay open. These let trapped water escape instead of sitting.
Lay a dimpled drainage mat of 8 to 12 millimetres under the turf on roofs and wet areas. It creates a clear path for water and lifts the grass off the slab.
Think of a roof membrane like a boat hull: one puncture and that compartment floods. Float the system and drain beneath it; never drill through the waterproof layer.
Choose the Right Underlay for Your Use

An underlay does four jobs at once: it levels minor flaws, manages water, insulates against heat, and cushions falls. Skipping it leaves every slab defect visible through the grass.
For a standard balcony or patio, a foam underlay of 5 to 10 millimetres is enough. Play and senior areas need a 10 to 15 millimetre shock pad for fall protection.
Roofs and wet decks want a dimpled drainage mat plus a thin foam of 5 to 10 millimetres. Pet zones need a permeable foam you can rinse and that resists odour.
| Scenario | Thickness | Type |
|---|---|---|
| Balcony, patio | 5 to 10 mm | Foam underlay |
| Play, senior zones | 10 to 15 mm | Shock pad |
| Roof, wet deck | 8 to 12 mm mat plus 5 to 10 mm foam | Dimpled drainage mat |
| Pet zone | 5 to 10 mm | Permeable foam |
| Commercial traffic | 10 to 15 mm | Double foam plus grid |
Commercial, high-traffic areas benefit from a double layer of foam with a grid, 10 to 15 millimetres, to hold shape under constant load.
Match Adhesive to Substrate and Climate
Use a polyurethane outdoor adhesive on concrete: it stays elastic, resists weather, and holds through temperature swings. Bead it along edges and in a band at every seam.
On tile, mechanically key the surface first, then apply PU adhesive, but leave drainage channels open so water is never fully sealed in.
Asphalt needs a high-heat-stable PU in warm regions; solvent-based glues break down in summer heat and let the turf creep. Wood decks want fixings plus glue over a breathable membrane.
On waterproofed roofs, never lay a full PU seal. Use perimeter adhesive beads and float the mat, because a sealed surface traps water and rots the bond within a year.
Roll Direction and Seam Layout
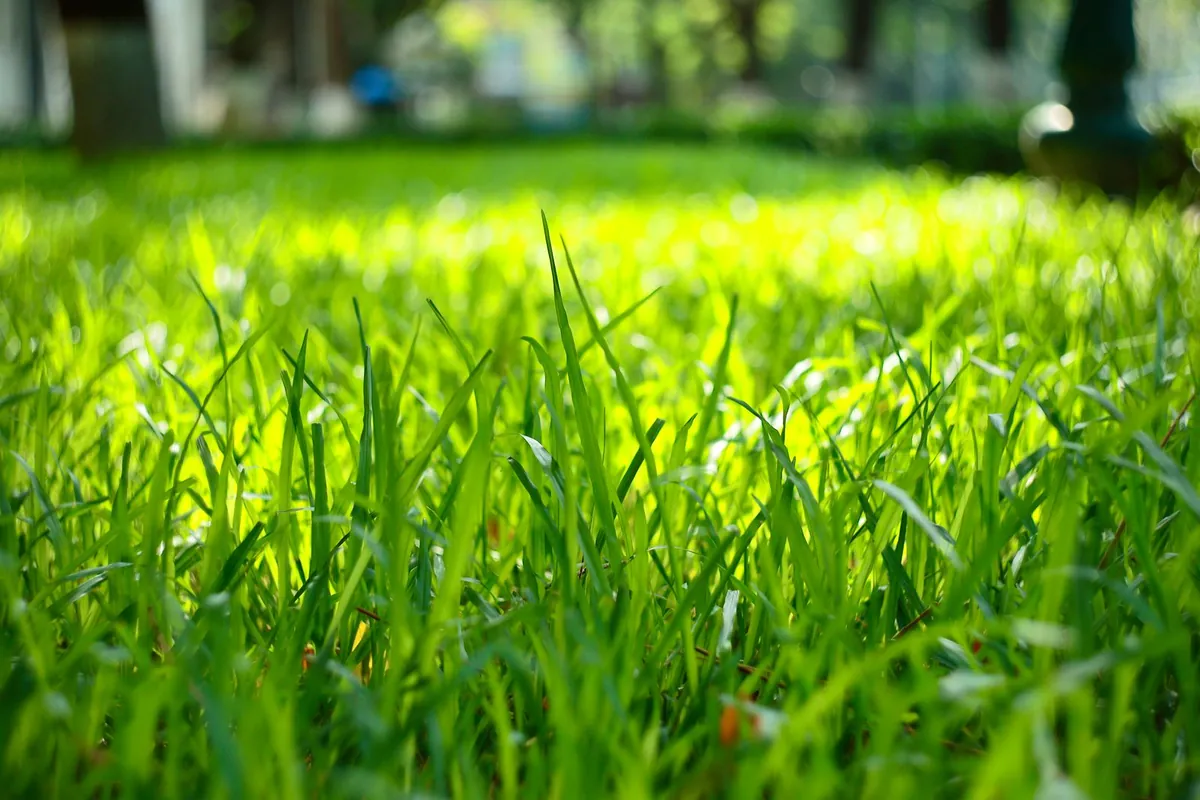
The final structural step in how to prepare the surface to lay synthetic grass on a hard floor is roll direction and seam layout, where most colour problems are born.
Our rolls come in 2, 4 and 5 metre widths, each 25 metres long, so pick the width that covers your area with the fewest seams. A 5 metre roll suits large roofs and pool decks with almost no joins.
Lay every piece in the same pile direction and from the same dye lot. Let the turf relax for 30 to 60 minutes after unrolling so the roll memory releases before you cut.
Trim seams to the stitch line and butt the pieces tightly so you never see a density change. Different directions or dye lots show as a visible colour-shift line under raking light.
Fix Perimeter and Edge Detail
Small areas under 20 square metres can use double-sided tape at about one metre spacing, which keeps the edge removable for inspection.
Medium areas want a continuous perimeter PU tape bead plus a seam band. High-traffic edges need a composite nailing board anchored into the masonry for real hold.
Leave a quarter-inch expansion gap at door thresholds so the turf does not buckle when the substrate moves or heats. Measure the threshold and trim to fit.
Perimeter is where wind lift, curl and trips are reported most, so fix and glue there rather than trusting glue alone. Double security beats a single bead every time.
Spread Infill and Brush the Fibers
Work in dry weather and spread silica sand, or a sand-rubber mix, with a drop spreader for even coverage. Aim for 1 to 2 pounds per square foot.
Brush against the grain first to stand the fibres up, then brush with the grain to settle the infill. A second pass locks the pile and keeps blades upright.
Keep infill lighter near weep holes and drains so you do not block the escape paths you built earlier. Blocked drains undo the whole drainage plan.
On our bench the rhythm matters more than the rate: steady, even passes beat a fast single sweep that leaves bare stripes and flat spots.
Hard Floor Prep Checklist for Site Visits
Run this ten-point check on every site before you quote or cut. It catches the issues that turn a tidy plan into a lifted, smelling, seamed failure.
- Confirm substrate type and flatness to a quarter inch over ten feet.
- Pour water for five to ten minutes and note every low point that holds a film.
- Verify the slab is dry for 24 to 48 hours after washing.
- Check that roofs and balconies carry written waterproofing approval.
- Confirm door thresholds, drains and floor wastes are clear.
- Note roof load limits for elevated decks and planters.
- Note sun aspect on south and west faces, which calls for a heat-resistant underlay.
- Note wind exposure on high roofs, which calls for stronger perimeter fixings.
- Lock the roll width, 2, 4 or 5 metres by 25 metres, against the area you must cover.
- Lock a same-batch colour card for multi-phase or multi-site orders so later deliveries match the first.
Run this list on every site: treat how to prepare the surface to lay synthetic grass on a hard floor as a fixed sequence, not a judgement call.
Common Mistakes on Concrete and Tile
Skipping the underlay is the classic error: the floor feels hard and every tile or board line shows through the grass within weeks.
Ignoring drainage lets water sit, breeds odour and lifts seams. Using the wrong or solvent glue loses bond in half a year. Sealing the whole surface traps water with no exit.
Laying multiple rolls in mixed directions creates a colour-shift line you cannot hide. Drilling a roof membrane for fixings breaks the waterproofing and creates liability.
Most failures trace back to one omission in how to prepare the surface to lay synthetic grass on a hard floor, usually drainage or a skipped underlay.
Source Turf Direct From the Factory
Factory-direct supply lets you spec the turf to the job instead of bending the job to stock. You choose pile height, density, colour and backing, and we hold one dye lot for the whole order.
Our PU backing outperforms standard backing in wet and roof conditions, and a 5 metre roll removes most seams on large areas. That is a real advantage on elevated decks.
From Base Spec to a Site-Ready Quote Sheet
Concrete, tile, asphalt, deck or waterproofed roof—list the substrate, square metres, drainage plan, underlay preference and pile height. We turn those base parameters into an FOB quote the whole crew can verify on site. Standard rolls come in 2, 4 or 5 metres by 25 metres, and custom widths plus PU backing cover roofs and wet decks.
Knowing how to prepare the surface to lay synthetic grass on a hard floor protects every dollar you spend on turf. The right supplier makes the spec match the site.
Questions to Ask Suppliers Before Buying
Ask for a FOB quote and a same-batch colour card before you commit, because colour drift between lots is the complaint we hear most on multi-phase jobs.
Confirm PU backing options and whether you can tailor them by zone, and ask how replacement stock keeps batch consistency with the first delivery.
Check roll-width stock (2, 4 or 5 metres by 25 metres) and the lead time for custom sizes, plus sample lead time and the minimum order for bulk.
Ask about floating-lay experience on roofs and waterproofed decks, since that skill separates a floor layer from a hard-floor turf specialist.
Review our range on the artificial grass products page and the commercial artificial grass page before you shortlist specs. If you buy to resell, see the become a distributor programme.
How to Verify Samples Before Commit
Order the standard 20 by 20 centimetre sample, or a custom size, with the client paying freight. Most buyers take three to four pieces to compare side by side.
Samples ship by DHL or FedEx in 4 to 6 days, or 7 to 9 days to remote areas; custom samples need an extra 10 to 15 days of production.
Check hand feel, pile height, backing and the colour card against the PDF, because a screen colour is never the delivered colour. Feel beats a spec sheet.
Request the free sample through the free samples page and lock the dye lot before you place the full order.
Frequently Asked Questions
How long before laying should I prepare a hard floor?
Start slab inspection and repairs well before the install window, then allow the surface to dry for 24 to 48 hours after washing. A fully dry, flat base is the cheapest insurance against later lift and odour.
How do I choose between PU adhesive and a general adhesive?
Use a polyurethane outdoor adhesive on concrete and tile for weather resistance and flexibility. Avoid solvent-based general glues on asphalt and roofs, where heat breaks them down and the turf creeps or releases.
Do I need special approval to lay turf on a rooftop?
Yes. Obtain written waterproofing approval before work and never drill the membrane. Float the turf over a drainage mat with perimeter adhesive beads so water escapes and the roof stays sealed.
Which underlay feels the most comfortable?
A 10 to 15 millimetre shock pad gives the softest, safest feel for play and senior areas. Standard balconies do well with 5 to 10 millimetres of foam, while roofs need a dimpled drainage mat first.
Can I fix turf laid in the wrong roll direction?
Not cleanly. Mixed pile direction shows a colour-shift line that brushing cannot hide, so the affected pieces must be re-cut from the same dye lot. Always align direction before trimming seams.
How do I get a factory-direct FOB quote?
Send your substrate, area, drainage plan, underlay and pile height to the factory. Our team returns a same-batch FOB quote with indicative pricing from $7 to $60 per square metre and a 4 to 6 day sample dispatch.

 English
  Arabic
  French
  German
  Portuguese
  Russian
  Spanish