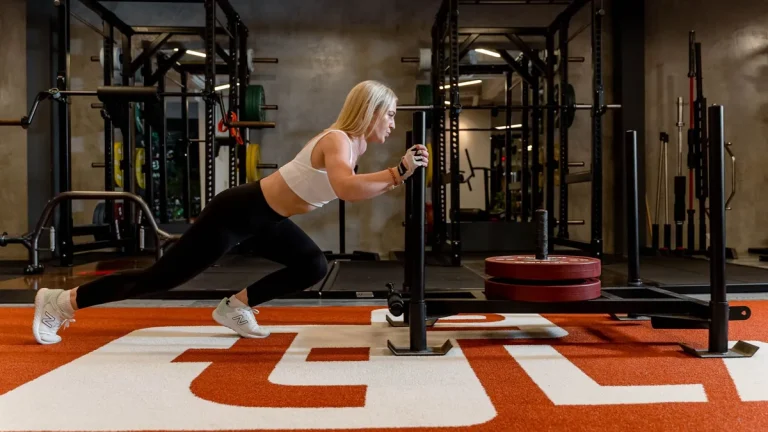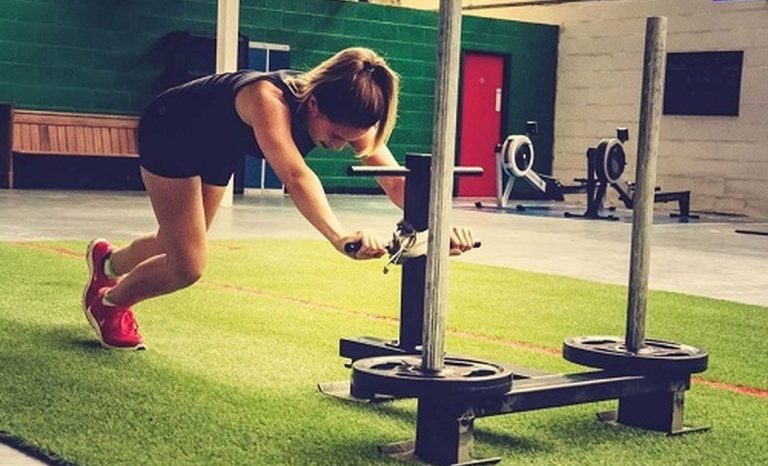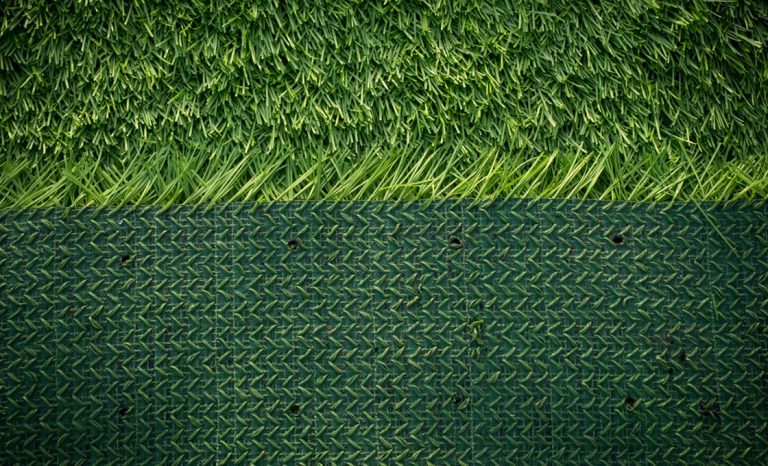







Artificial grass is a surface of synthetic fibers made to look like natural grass. The roll arrives finished; the floor it lands on is not. Seams split under sled loads, and bonds fail on slabs nobody tested for moisture. Tape ripples into trip hazards under the wrong load, and transition lips curl edges within weeks of handover. The thresholds that prevent each failure sit scattered across vendor instructions, data sheets and spec pages.
An indoor gym turf installation is won or lost at base acceptance, not at the glue pail. We sit at the factory installation desk, and the callback calls we take follow the same arc every time. Verify the base per floor type, and put numbers on moisture before the first roll is cut. Join seams the way installers do, match the fixing method to the load, close the transitions, then hand the floor over after a proper cure and first groom. This page carries those thresholds into one workflow.
Map the Base Before Any Roll Arrives
Every indoor gym turf installation starts with a base verdict, and the verdict differs by floor type. Concrete slab, existing rubber flooring and wood subfloor each carry their own acceptance gates. Walking the room with the right checklist before the rolls arrive costs an hour; discovering a soft rubber floor after bonding costs the whole install. Get the verdict in writing before the delivery truck is scheduled.
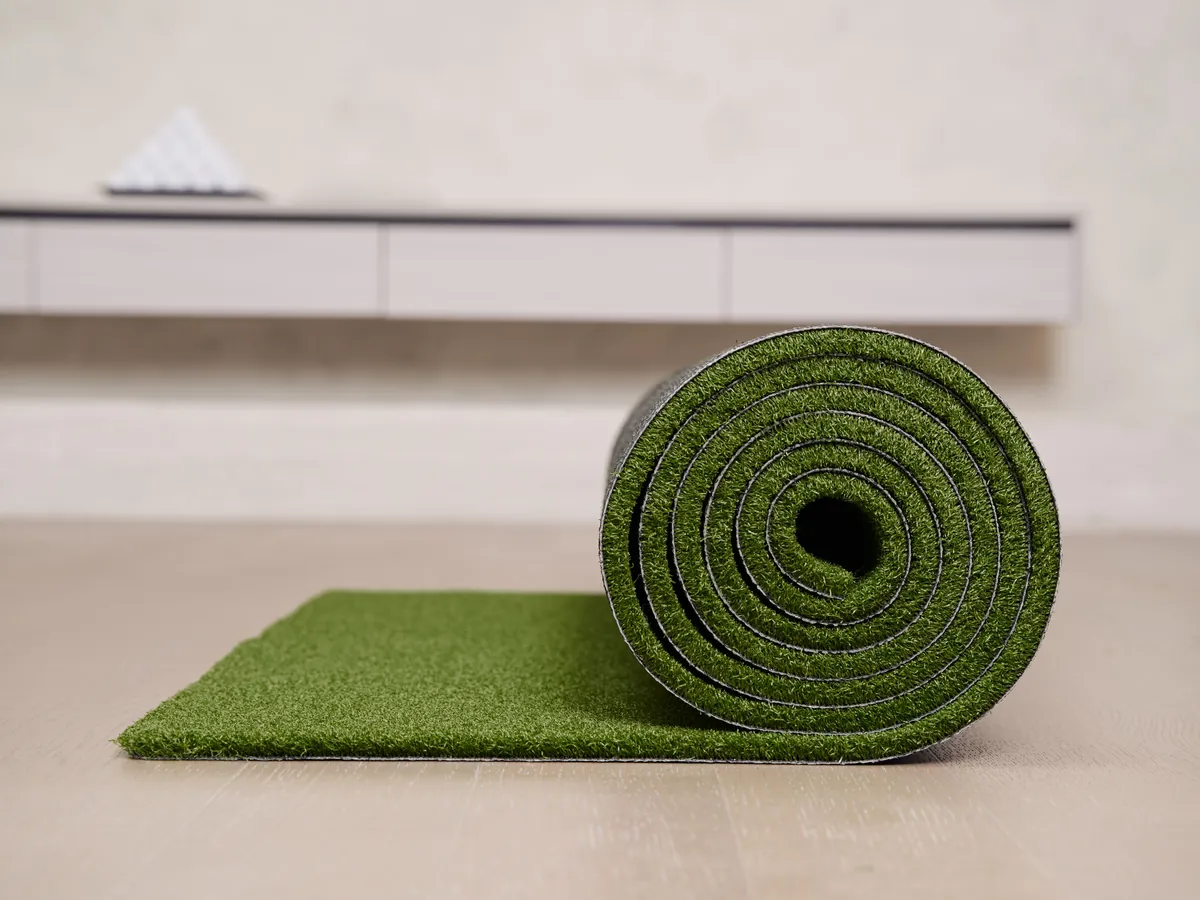
Concrete Slab Checks
Spec-grade planarity allows the finished surface to vary no more than 1/4 inch per 10 feet, per a published turf specification. Gym-grade work is tighter: per one installer guide, concrete should be leveled within 1/8 inch under a 10-foot straightedge. New slabs also need patience. Proper curing ranges from 45 to 60 days after the sub-floor is poured. Per one indoor install instruction, the surface must also be washed to strip alkali, soaps, emulsifiers and oil before any adhesive sees it.
Concrete keeps building strength as it cures: over 90% of its final strength within four weeks, with the remainder accruing over years. Chemistry matters as much as age. Slab pH should sit between 7 and 9, because high alkalinity destroys glue, per one installer guide. Painted or epoxy-coated floors bond only where the coating is solid; scuff the surface with 40-grit sandpaper to create the mechanical tooth the bond needs. Rushing the cure window is the most common shortcut on a fit-out schedule, and it shows up later as bond failure.
Rubber Flooring Checks
Existing rubber flooring is a workable base when it is dense and sound. Per one vendor guide, base rubber should measure at or above 60 Shore A, because softer rubber lets the turf sink and the bond fails under load. Run a water-drop test for surface sealers and a tape test for degraded rubber. Factory mold-release agents and floor wax must be stripped, and rubber-seam gaps wider than 2 mm must be filled before the tiles are secured firmly to the subfloor. Where the tape test pulls powder or crumb, the rubber is past its service life as a base.
Crews fitting indoor sports turf systems built for gym lanes over existing rubber follow that same acceptance order: density first, cleanliness second, fixing last. A skipped check shows up months later as a floor that sinks under a sled or lifts at a seam.
Wood Subfloor Checks
Plywood is an approved substrate on one adhesive data sheet, alongside concrete and asphalt, provided the surface is clean, dry and free of oil and sealers. Padded turf behaves differently: machine traffic stretches it, so padded edges never stay parallel. Per one installer guide, order enough material to overlap and cut to size in place with a rotary knife. Where a padding or rubber-tile layer sits on the wood, screws driven with a power drill through the padding layers are the accepted alternative fixing.
Pass the Moisture and Flatness Checks
Indoors there is no rain, and that misleads crews into skipping moisture testing. Concrete stays wet long after it looks dry, and trapped vapor is what kills adhesive bonds. Start with the plastic-sheet test per one glue-down guide: tape a square of plastic to the slab and check for condensation after 24 hours. Condensation after 24 hours means active vapor, so stop and treat the slab. That verdict gates every indoor gym turf installation, whatever the floor above it.
Quantify the rest. Per one how-to guide, a calcium chloride test should read below about 4 lbs per 1000 sq ft per 24 hours. Per the ASTM F2170 context cited on one facility-spec guide, in-situ relative humidity should remain below 85% for strong adhesive bonding. A sweating slab, the kind that leaves dark spots under a covering, needs a liquid vapor barrier. Tape will not stick to damp concrete, and glue eventually fails without moisture suppression.
Indoor installs fail on slab vapor more often than on anything the weather does. Vapor saponifies glue just as standing water does, so run the moisture verdicts before the pail opens, not after the first seam lifts.
Budget the moisture work into the schedule, not around it. Treating a slab after a failed test costs less than tearing out a bonded floor, but both cost more than testing on day one. The verdicts above are quick; the retests after treatment are what stretch a timeline, so test before the turf is even ordered.
Flatness then gets a second walk before bonding. Sweep the whole area with a straightedge, string line and laser level, the tool set named in the published specification, and mark every high and low spot. Standing water pooled on a supposedly flat floor marks a depression that will soak the bond line. A straightedge that rocks on two high points marks the exact spot the trowel should revisit. Ventilation and moisture planning starts before you buy, and the discipline applies to enclosed gyms just as much as to covered outdoor builds.
Plan Roll Direction, Relaxation and Seam Layout
Roll planning is where an indoor gym turf installation stops being a delivery and becomes a layout. Before a blade touches anything, the crew decides grain direction, seam lines and trim allowance. Deciding on paper is reversible; deciding after the first cut is not.
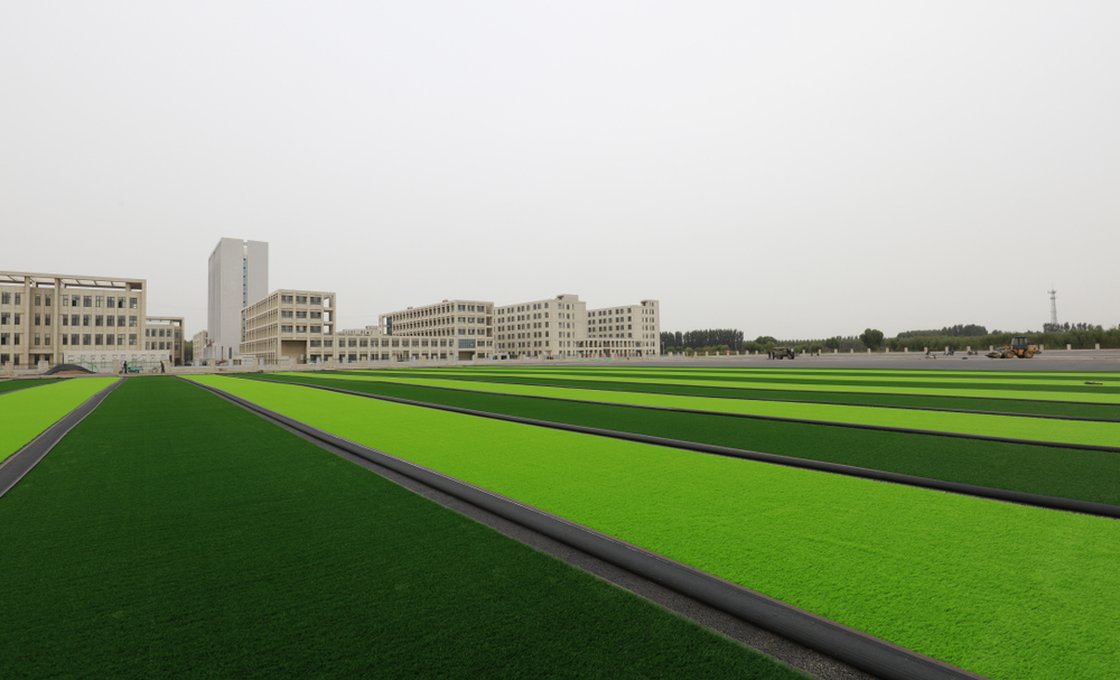
Relaxation comes in tiers. Per one installer guide, unroll and let the roll relax for at least one hour, and one manufacturer allows 1 to 3 hours on concrete. Gym discipline is stricter: acclimate for 24 hours, and for 48 when temperatures sit below 50 F. A roll off a cold truck that is glued immediately shrinks and opens seams by morning. Per one manufacturer guide, weight the turf and leave it at least 24 hours to settle to 100% flat.
Layout arithmetic follows the rolls. Grain direction must run one way across all pieces, because reversed grain reads as a color change under gym lighting. Roll width decides seam count, and turf rolls in 2, 4 and 5 metre widths are made so a lane takes as few seams as the layout allows. Leave a 1-2 cm trim overhang at the walls per one hard-surface guide, trim the factory edges, and dry-fit the entire field before any glue is opened.
Hold a 1/16-inch seam gap at the joints per one installer guide, or 2-3 mm per one manufacturer step-by-step, so the assembly has room to move. Cut from the back with a fresh blade; two light passes beat one deep cut. A ragged cut shows up as a shadow line at every seam, so the blade does the quality control here. Before the first pail opens, put the layout through a short checklist:
- Grain direction runs one way across the whole field.
- Seam lines sit off the main walkway and the sled lane.
- Trim allowance is kept at every wall line.
- A dry-fit photo is on file before any adhesive is opened.
Join Seams the Way Installers Do
Seams are where an indoor gym turf installation earns its inspection. A seam that opens two weeks after handover usually traces back to a rushed joint, not a bad roll. Installers who slow down here never see the floor again; installers who rush it see it twice. The craft runs in three stages: trim and butt, tape and glue, then press, seal and weight.
Trim and Butt the Edges
Butt the two edges tightly, with no overlap and no gap. Keep the expansion allowance described earlier: a 1/16-inch gap per one installer guide, or 2-3 mm per one manufacturer step-by-step. Trim the factory edges first so both sides meet as clean, uniform cuts made on site.
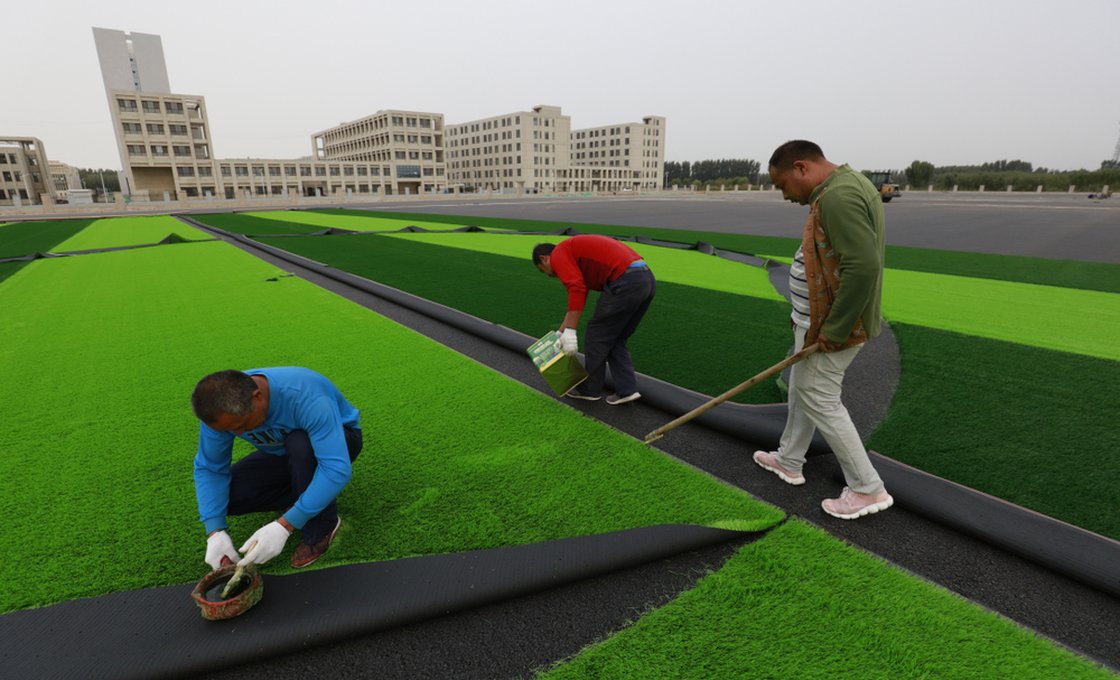
Tape and Glue the Line
Center a 12-inch seam tape under the joint per one installer guide, and set it shiny side down per one manufacturer guide. Adhesive goes on the tape, not the turf, so the two rolls move as one unit. Brush the glue across the full tape width, because thin spots become gaps later. Check that no yarn is trapped in or stuck to the glue line, and brush the fibers upright before pressing. Fibers caught in the line make a seam both visible and weak.
Press, Seal and Weight the Seam
Step firmly and repeatedly along the full seam so the bond consolidates. Weight the line with 15-20 kg objects and let the joint cure 2-4 hours, longer when the room is damp or cool, per one manufacturer step-by-step. Per one indoor install instruction, seal the seam with a 1/8-inch bead of seam sealer at the fiber/backing interface. When a seam does split months later, that is when split seams are a replacement sign rather than a repair job, and the base history tells you which.
Choose the Fixing Method for the Room
No mechanical anchors go into the slab, and no fasteners go through the floor. An indoor gym turf installation is held by the fixing method chosen at layout time, matched to the load the room takes. Four anchor-free options cover every case, from permanent sled lanes to temporary training zones. Each row below names its source, because these options come from different vendor playbooks and do not share one rulebook. The table aligns them by sled load and removability.
| Method | Best for | Hold under sled work | Removability |
|---|---|---|---|
| Full-bed glue-down | Permanent sled lanes on concrete and wood subfloors, per one manufacturer sled guide | Holds; the commercial standard for permanent tracks | Permanent bond |
| Double-sided tape | Light-use zones along perimeters and under seams, per one hard-surface guide | Yields under a sled drive, per one vendor guide | Semi-permanent, removable |
| Perimeter spot glue | Lighter rooms where lower glue use matters, per one installer guide | Light duty only | Removable |
| Floating foam-backed floor | Light or temporary use only, per one manufacturer sled guide | Not rated for sled work | Fully removable |
The consequence line is blunt: under a sled drive the tape yields and the turf ripples into a trip hazard. On wood build-ups, screws through the padding layers remain the accepted exception per one installer guide. Every other row on that table is a decision made once, at fixing time, and lived with for the life of the floor. Ask which rooms truly run sleds, and spec the fixing to that answer.
Worried the Turf Will Lift or Ripple Under Sled Work?
Our PP+Net and PU backings are made to bond cleanly and resist delamination, with roll width and pile height built to your layout. Explore the gym turf range.
Close the Edges and Floor Transitions
Edges and transitions are where members actually trip, so closing them is safety work, not trim. An indoor gym turf installation ends with three close-out options per one manufacturer guide. Edge trim strips and a continuous perimeter glue line cover most perimeters. The embedded method sets the turf between rubber flooring so it sits level with the surrounding tiles.
Height matching decides which option works. Per one facility-spec guide, a 0.5-inch pile turf over a 5 mm backing totals about 0.7 inches, close to standard 19 mm rubber tiles. Beveled reducer strips take up any remaining difference. A 15 mm track beside a 10 mm rubber floor leaves a 5 mm trip hazard that a proper ramp edge solves. And 1/2-inch turf dropping to bare concrete without a reducer peels at the edges over time, per one installer guide.
The formula is simple: existing floor thickness + turf thickness + underlayment thickness = final installation height, measured before install per one manufacturer sled guide. Run it at every junction before the rolls are cut. Measure at every door, every rubber junction and every track end, because one unmeasured lip becomes the callback. Then close the room out against a checklist:
- Door clearances checked at every threshold.
- Rubber-junction height measured against the turf assembly.
- Perimeter glue line continuous, with no dry spots.
- Transition strips screwed down, not just bedded in adhesive.
Cure, Groom and Open the Floor
The last phase is discipline, not skill. Adhesive has windows, the floor has cure times, and the first groom belongs to the installer rather than the maintenance crew. Rush any of them and the walkthrough fails even when every earlier step was right. By this point the roll is on the floor, the glue is curing, and the only thing left to manage is time.
Watch the environment first. Per one installer guide, install at 55-95 F with relative humidity between 10-65%. Per one indoor install instruction, store adhesive at 65-85 F, and one adhesive data sheet sets the application window at 10-30 C. Then respect the clock: tack time runs 10-15 minutes, and working time runs 30-40 minutes under normal conditions. Per another adhesive data sheet, most turf products require more than 80% adhesive transfer.

Open time is the constraint that paces the whole room. Per one indoor install instruction, adhesive air-dries 15-30 minutes before lay-in, and you never cover more surface than you can effectively work. Keep the floor quiet for 24 hours before foot traffic and 24-72 hours before sled traffic, per one installer guide and one glue-down guide. Roll the entire area with a 50-75 lb roller in both east-west and north-south directions to consolidate the bond. Mark the cure clock on the room door so nobody walks the floor early.
Finish with the first groom. Broom against the grain with a stiff push broom or power broom to lift the fibers upright, then run a final vacuum and inspect every edge and seam line. Never cut a raised bubble; puncture it with an awl or syringe, press the trapped vapor out, and re-weight the area. If a seam misbehaves weeks later, check the base first and the glue second. That order resolves most callbacks, and it is how an indoor gym turf installation earns its sign-off.
Frequently Asked Questions
Can you install gym turf over rubber flooring?
Yes, if the base rubber is high-density at or above 60 Shore A per one vendor guide. Fix the rubber tiles firmly to the subfloor first, strip floor wax and mold-release agents, and fill seams wider than 2 mm.
How flat does an indoor gym floor need to be?
Gym-grade concrete is leveled under 1/8 inch on a 10 ft straightedge per one installer guide. The spec-grade gate is 1/4 inch per 10 feet; the metric counterpart is 3 mm over 3 meters.
Is double-sided tape enough for a gym floor?
Light-use zones only. Under a sled drive, double-sided tape yields and the turf ripples into a trip hazard. Full-bed glue-down is the commercial standard for permanent sled lanes per one manufacturer sled guide.
How long before the floor can take a sled?
Keep the floor at 24 hours before foot traffic and at 24-72 hours before sled traffic, per one installer guide and one glue-down guide. Heavy sled work comes at the far end of that window.
Why did the turf shrink after the install?
A roll off a cold truck glued immediately shrinks and opens seams by morning. Let rolls acclimate 24-48 hours and weight them flat for at least 24 hours before any adhesive is opened.